
Vultr is the SSD VPS provider. Vultr provides a standardized highly reliable high-performance cloud compute environment. Let see how to deploy CloudPages on Vultr.
Vultr was launched in February 2014 with essential features and networking support. It provides One-Click development, 100% SSD storage, and bare-metal servers. As compared to competitors it provides a very user-friendly dashboard at a very reasonable price. Vultr is considered one of the best cloud service providers.
This article will explain how to deploy CloudPages on the Vultr Cloud server in a step-by-step procedure.
Table of Contents
Step-1: Get a Server from Vultr
First of all, you must have an account on Vultr, If you don’t have an account on Vultr click here to register, If you have already an account then click here and provide credentials and log in.
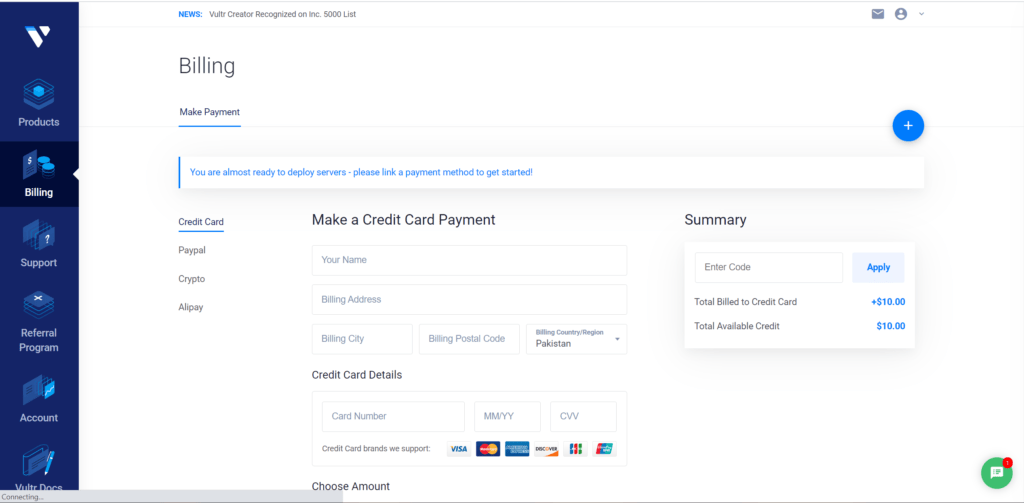
Add Payment method
On new Vultr account, you will have to add a payment method, skip if you have already done so.
Add Instance
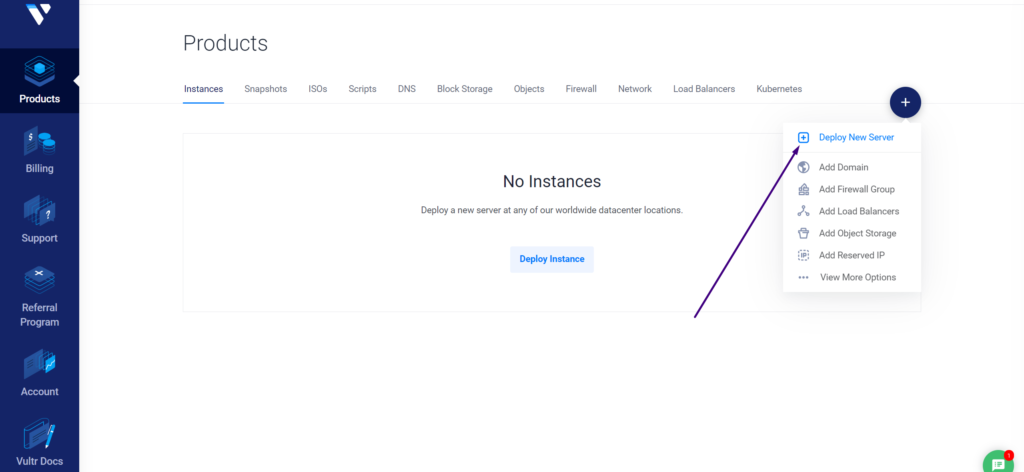
This is a Dashboard of your Vultr account, here you can see all servers that you already added to this account, If you have no server or instance move your cursor on the plus(+) icon, it will show you a drop-down list click on Deploy New Server to add a new instance.
It will move to the following page, where you can deploy any server according to your choice.
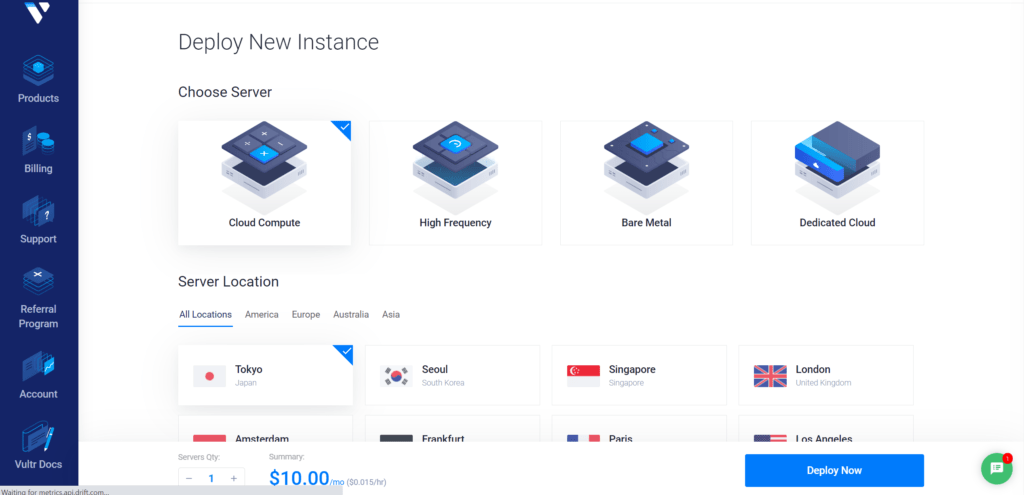
Follow the step-by-step procedure to deploy a new server
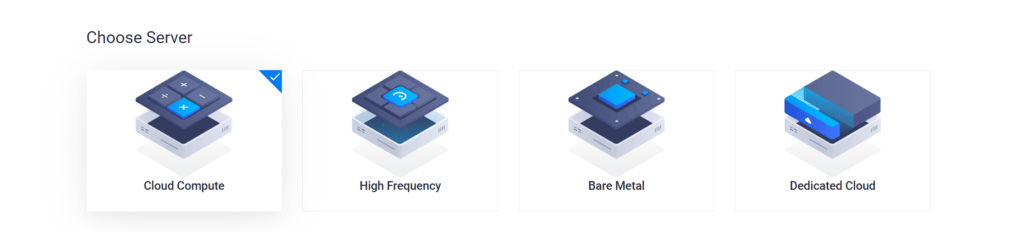
Choose server
Vultr offers many types of servers shown in the following image, you can choose according to your choice and move to the next step.
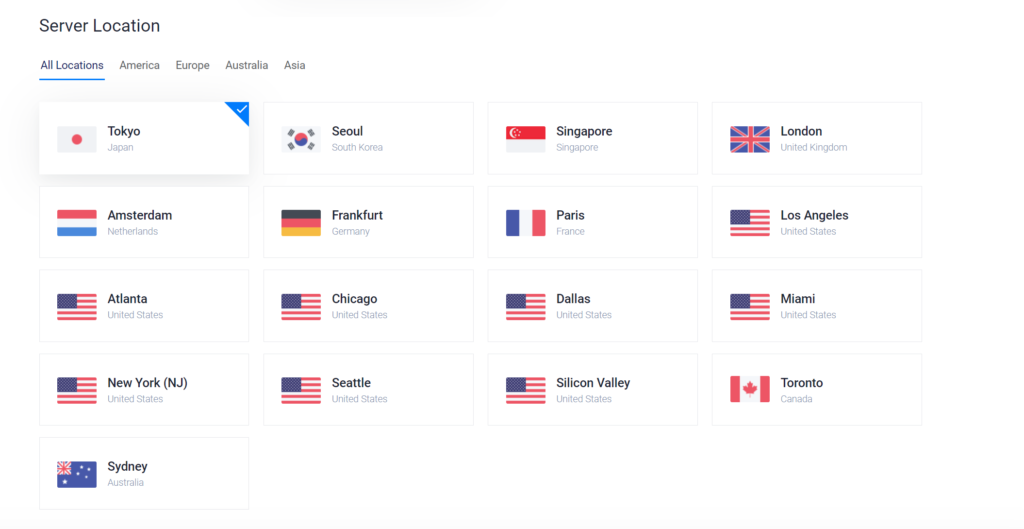
Server Location
Vultr is strategically located in 17 data centers around the globe, you can choose a location according to your choice.
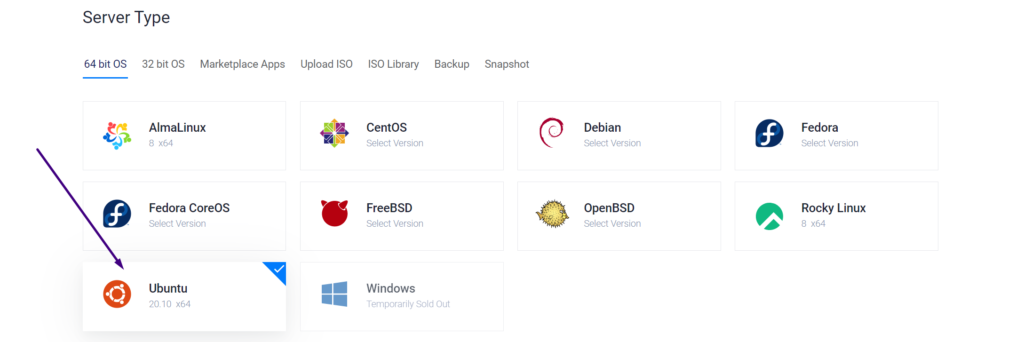
Server Type
It offers you many types of OS, but in this step, you must choose Ubuntu 20.04 x64 because CloudPages only works with Ubuntu 20.04 x64.
Server Size
Using this step, you can select the server size you want and move to the next step. This solely depends upon your application requirements.

Additional Features
You can Set additional features on Vultr that are shown in the following image. if you want you can set it up.

Startup Script
if you want to add a startup script you can add it in this step.

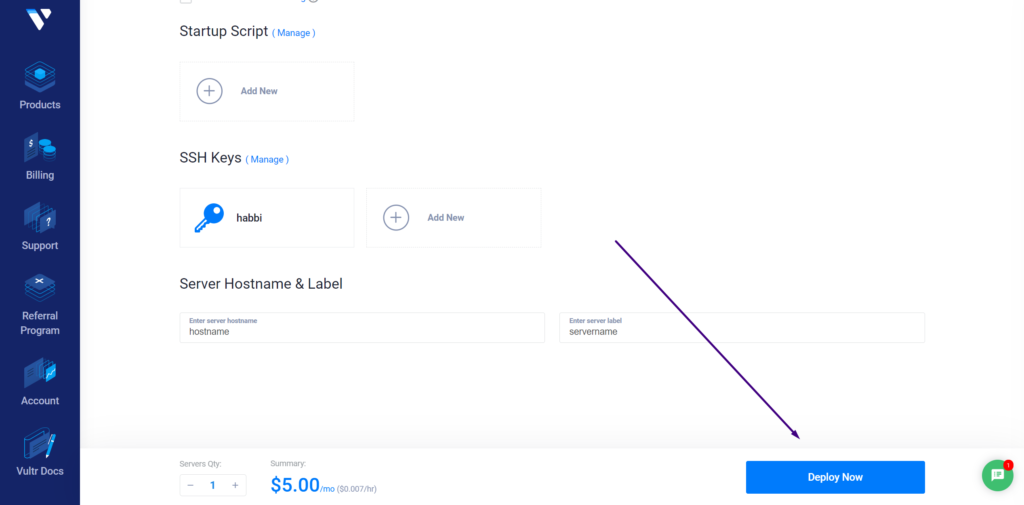
SSH key
This is the most important step of deploying a server on Vultr. Normally there are two ways to access your server:
- SSH Key based login
- Password based login
We recommend that you add a key here so that you don’t need to use a password, otherwise if you don’t add the key you can access your server using the password provided by Vultr.

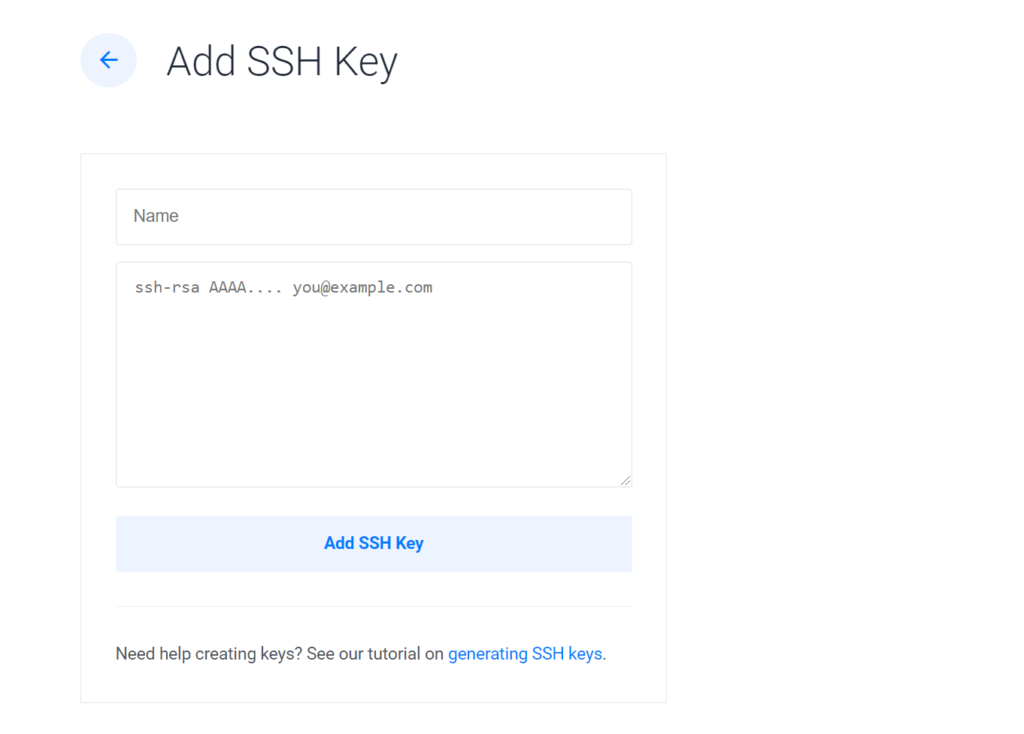
Add New SSH Key
Once you click on Add New it will move you to new page where you can input your key. Enter the key name in the first box, and in the second box, enter the key, and click Add SSH Key.
Add Hostname & Label
Provide server name (it can be anything) and hostname such as servername.domain.com

Deploy
Finally, click on Deploy Now and deployment will start.
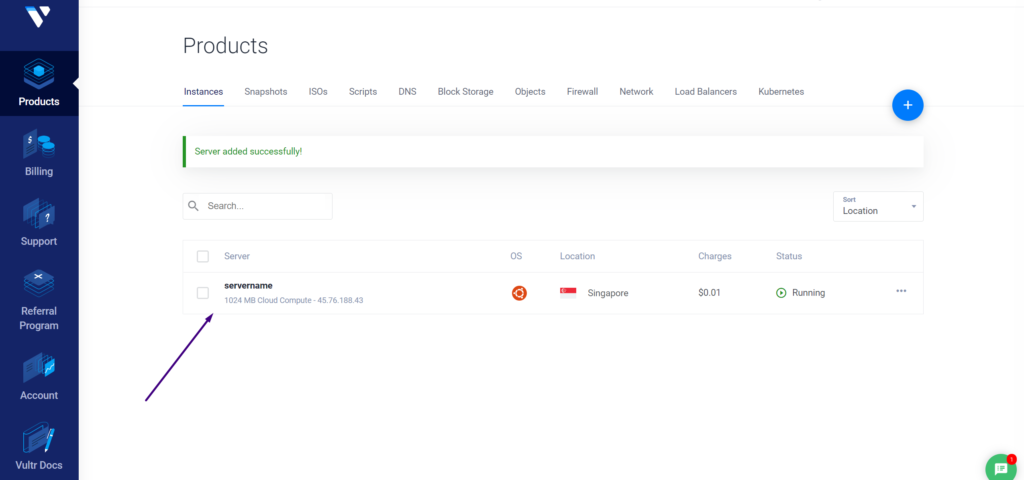
It will automatically move you to the dashboard of your Vultr account where you can see the server is successfully deployed and you are ready to deploy CloudPages.
Step-2: Deploy CloudPages on Vultr Server
Now your server is ready to set up CloudPages and deploy WordPress sites.
Installing CloudPages on your server is just one command away.
First, register on our platform If you don’t have an account. Once registered log in.

After registration follows these two steps.
- Create a project on CloudPages following this documentation.
- Deploy Server following this documentation.
- Deploy WordPress
CloudPages have a free plan and 7 days trial for new users, visit our pricing page to learn more.