
Several CloudPages users have been inquiring information about how SSL works. Therefore, we wrote this article and made a video so everyone can easily issue Let’s Encrypt SSL from CloudPages. In this article, we will describe how you can issue SSL on CloudPages and use it.
Our server needs to be configured a bit before we begin this article.
Table of Contents
Pre Requisite:
It is necessary to have the following things ready before issuing Lets Encrypt SSL:
- VPS or Dadicated server with ubuntu 20.04
- CloudPages Installed on it
- Cloudflare account where you have to set DNS for you website.
Set DNS with Cloudflare:
Currently, Cloudflare is the most popular DNS management service. In addition to its DNS management feature, Cloudflare offers a wide range of security and speed enhancement options.
Nevertheless, this article focuses solely on how Cloudflare lets you manage your DNS. You must follow these steps to manage DNS with Cloudflare.
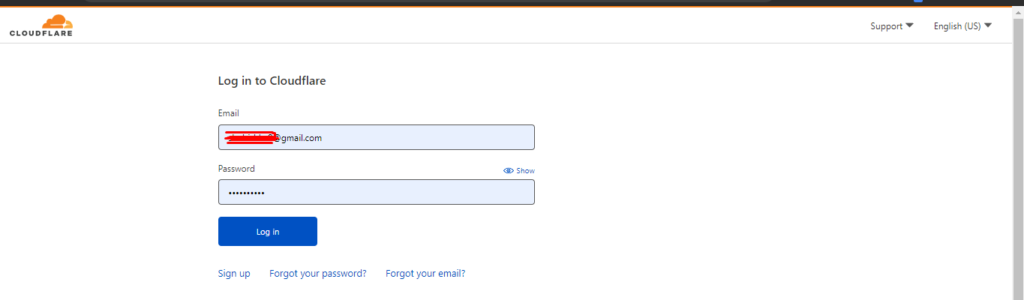
Step 1: Sign-in or Sign up on Cloudflare:
Having Cloudflare account is one of the core requirements. If you already have an account then you can simply log in to your account using credentials. And if you don’t have an account then visit here and register now.
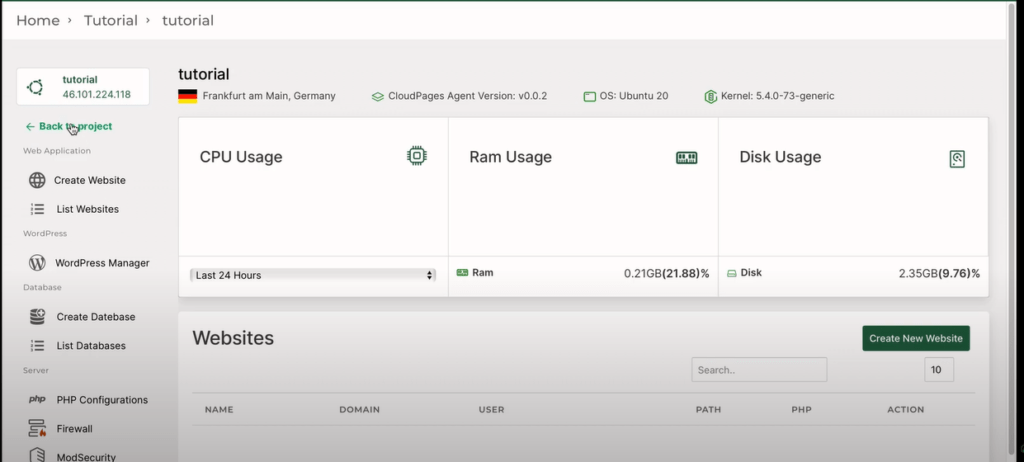
Once you are logged in you can see a dashboard like this.
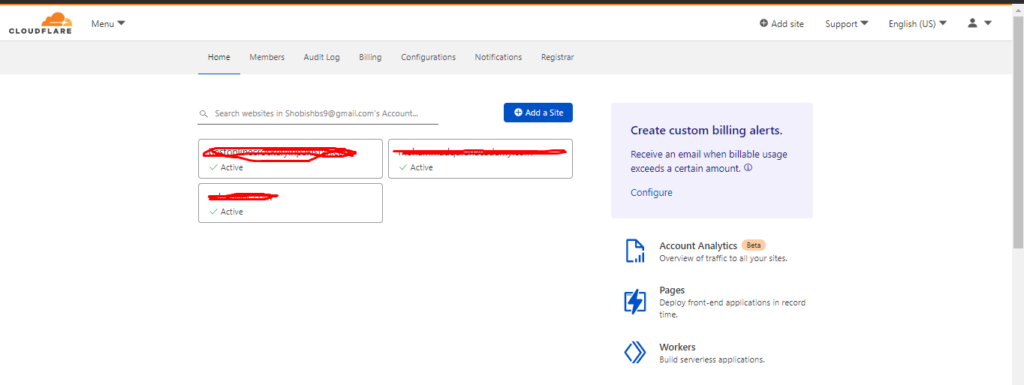
Step 2: Add your domain:
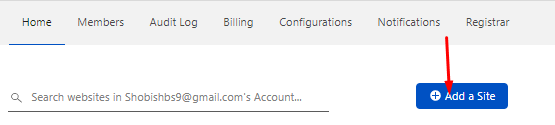
Now you have to add the domain to your account for which you want to manage your DNS. To do so press on Add Domain button on the Cloudflare dashboard.
In the next screen, you have to provide the domain name and the press Add Site button.
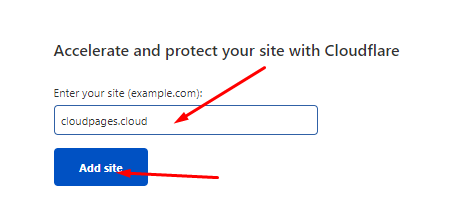
Once done you will move next step.
Step 3: Select your plan
Here you have to choose a plan. We will choose a free one as it is enough for DNS management and basic features.
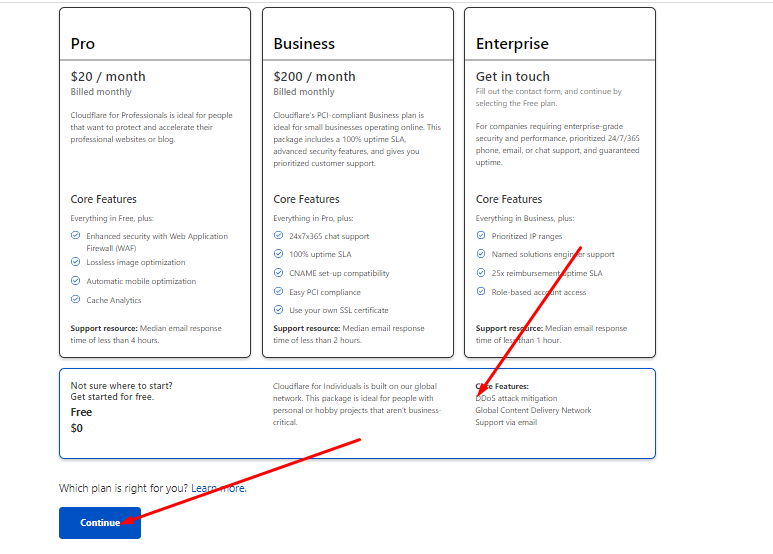
Select the plan and press Continue.
Step 4: Review DNS records:
Now Cloudflare will fetch your current DNS records, and if you need to add more records you can also do so on this page using the Add Record button above the records.
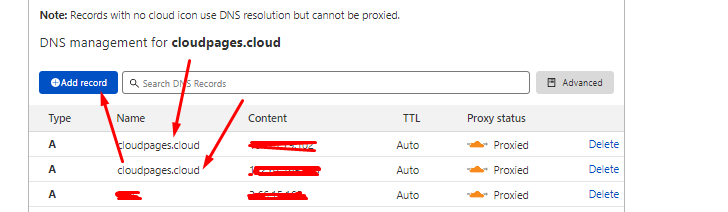
While adding your records in Cloudflare make sure that you turned off the proxy and use only DNS from Cloudflare.

Once you did this your Cloudflare will look like:

Deploy Server and WordPress on CloudPages:
If you don’t have these things, you won’t be able to access or use anything. You must deploy CloudPages on your server with any provider in order to accomplish this. Please refer to the following guides to deploy servers and websites with CloudPages.
While deploying WordPress CloudPages will issue SSL on your server automatically.
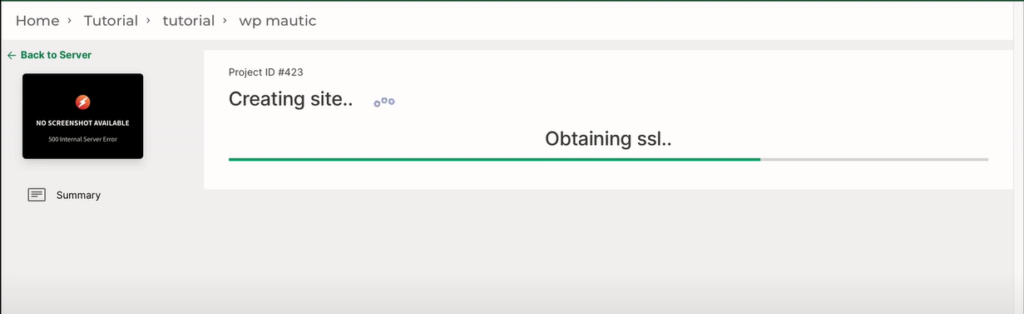
The deployment and issuance of SSL will take some time, so you will need to be patient. If you have already pointed your DNS records your site will automatically have a valid SSL.
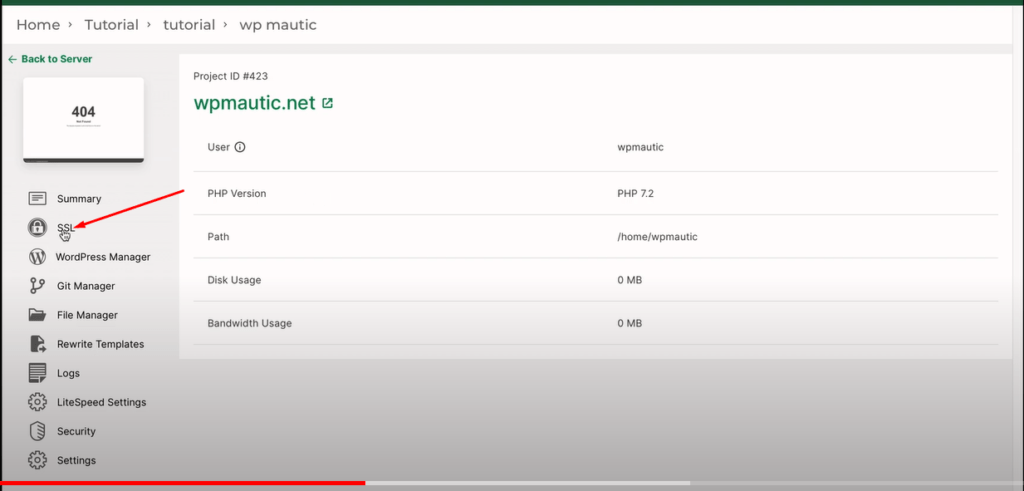
If a site is created but SSL is not issued (or self-signed SSL got issued) just follow the steps. Visit the website dashboard. And then click on the SSL button from the left menu of the website dashboard.
There are two boxes on this tab, the SSL certificate box, and the private key box. If everything is done properly, you can see the key and certificate in the boxes, as well as the status of your certificate. This page will look like the page given below.
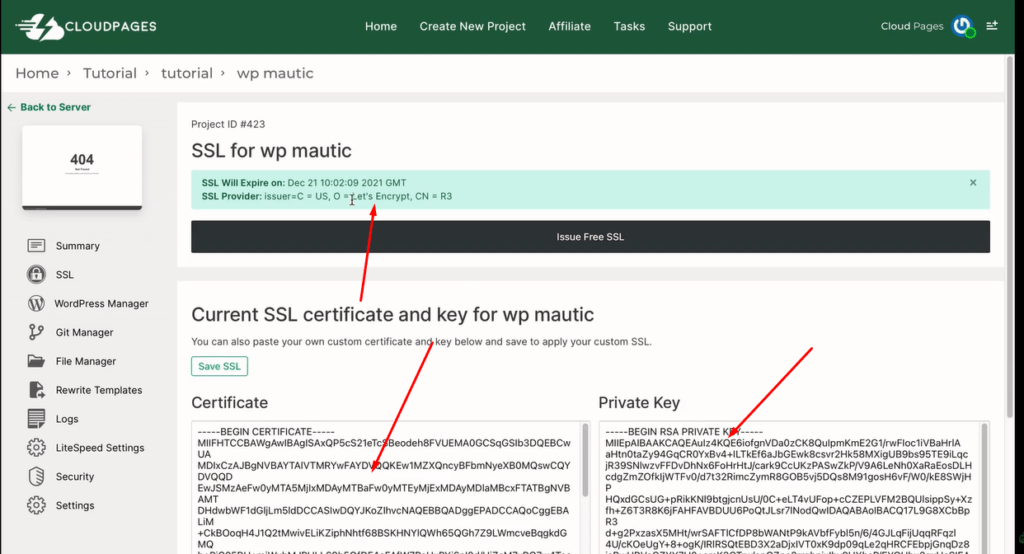
If SSL is successfully issued your page will look like the image above.
Case 1: You have not pointed DNS record:
If you have not pointed your DNS record, you will get a self-signed SSL.
To check while DNS is working or not you can check using this link.
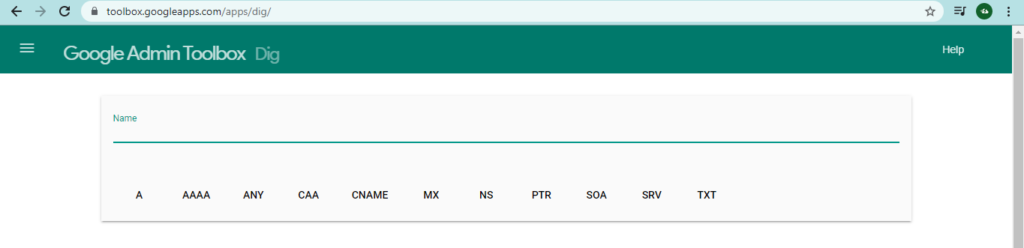
If you deployed your wordpress site without DNS then after deploying and visiting SSL page you can see that SSL is not issued on the domain and it will look like the image shown below.
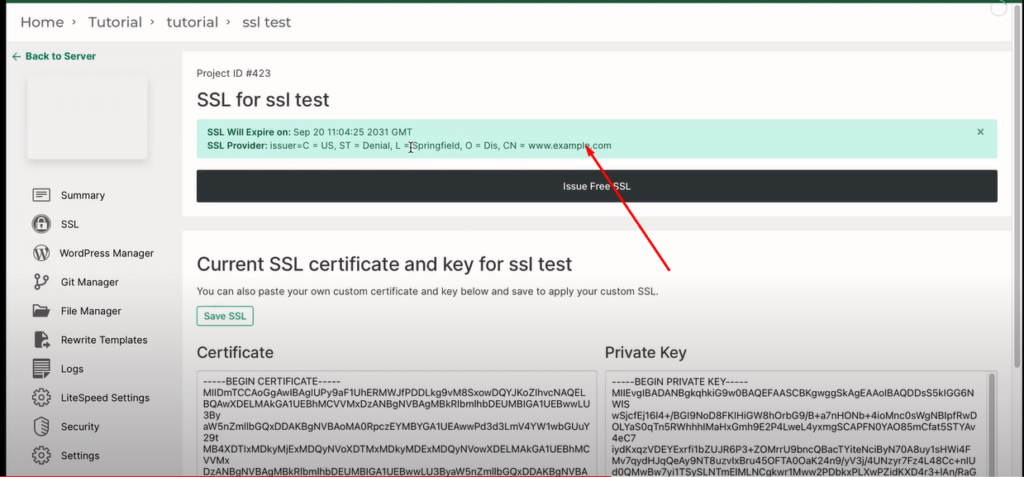
This means CloudPages is not able to issue valid SSL on this domain and now this site is showing SSL for www.example.com that means self-signed SSL.
We will add an A record for this domain in Cloudflare or any DNS manager like we did in the first part in order to get a valid SSL. After you have done this, you can go to the SSL section on the website dashboard and issue the SSL.
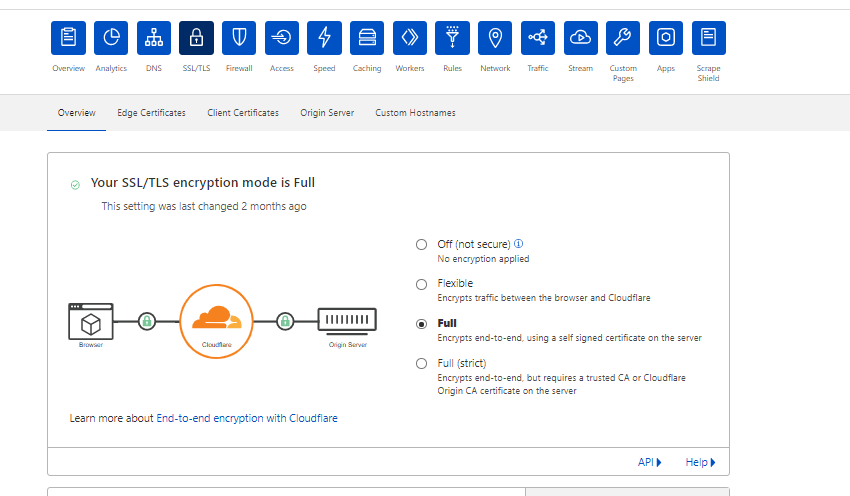
Cloudflare SSL:
Cloudflare provides different SSL modes, such as flexible, strict, full, etc. In flexible mode, Cloudflare ensures that there is a valid SSL between the browser and Cloudflare. SSL is not required between the server and Cloudflare. It will work without it.
In full mode, Cloudflare checks that there must be a valid SSL between the server and the browser and between the server and Cloudflare at least there must be self-signed SSL.
The server and Cloudflare must be connected via SSL in strict mode as well; otherwise, self-signed SSL will not work.
Watch this full video tutorial.