CloudPages is dedicatedly designed for WordPress warriors. But how to migrate WordPress from any host to CloudPages? This will be the most asking thing for newbies.
In this article, we found a wonderful solution with the help of a WordPress plugin to move your site from any host to CloudPages with no issues. After reading this article you will be able to move your website from any host to CloudPages. Believe me, you even do not need any support after reading this.
To keep things very simple and understandable I will try to keep this article as short and clear as possible.
Table of Contents
Prerequisites:
Before you move your site from any other host you must have these things done.
You must have a server from any provider and a CloudPages account to perform these tasks.
- Create a Project.
- Deploy Server.
- If you are a new CloudPages user you will get 7 days trial of our Agency plan, so you don’t need to add any payment method.
You must have to do these as everything on CloudPages depends upon the Project. If you have a project you can add a server and if you have a server you can add a website.
Setup Needs to be done on CloudPages:
You have to set up a WordPress website first on CloudPages before moving your site from any other host. So please follow these steps to do so.
Deploy WordPress Website:
Deploying a WordPress site is a few-click process on CloudPages. You just have to use CloudPages WordPress Manager. Go to Deploy WordPress, provide all required information, and press the Deploy button. You can deploy WordPress using this article.
Keeping this article short I have provided the link above where you can read how to deploy a WordPress website on CloudPages.
Create an SFTP account:
You need to create an SFTP account as it is needed by the migration plugin to transfer data and perform other tasks.
Read our document related to SFTP creation here, we will also briefly describe it here.
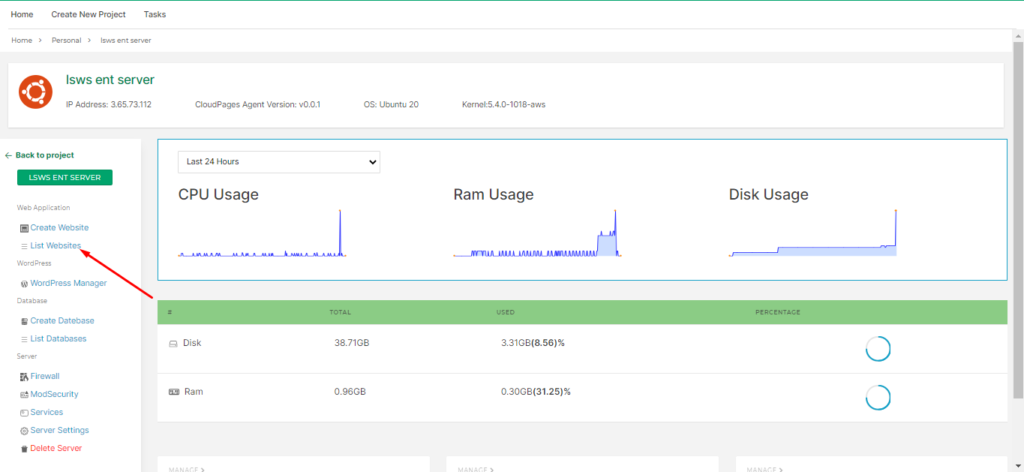
Go to your server dashboard and click on List Website in the sidebar.
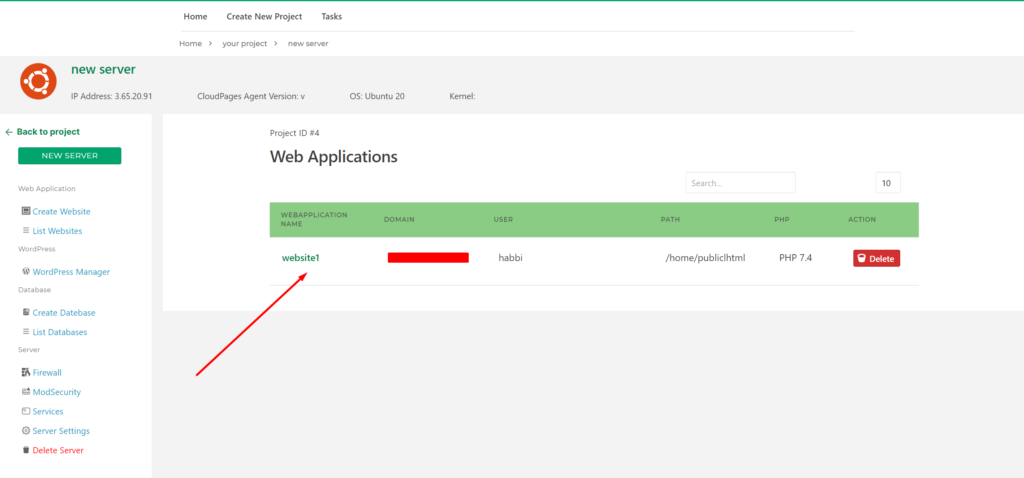
Select Website
Select the website for which you want to access the File Manager.
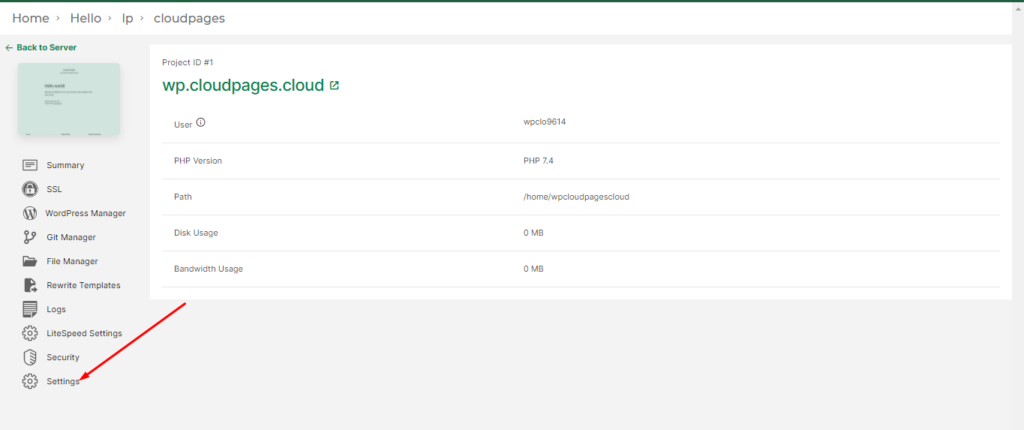
Access Settings
Click on the Settings button on the left menu.
Once you click on the upload button you can see the following page is opened on your screen, click on the Change Password Button
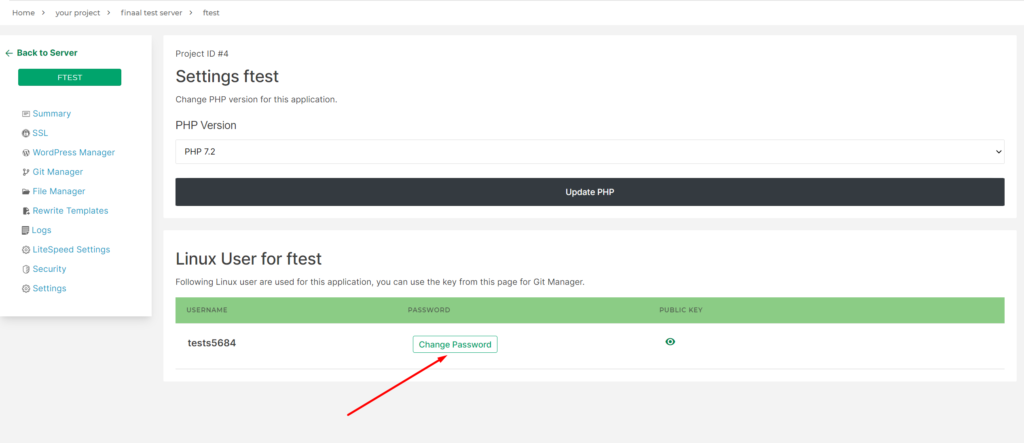
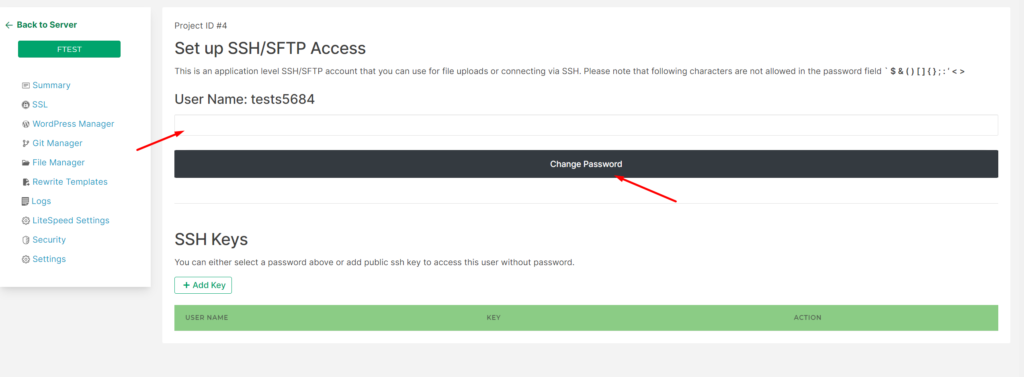
Change Password
Enter the password into the input box and press the Change Password button.
Once you click on the button you can see the message displayed on your:
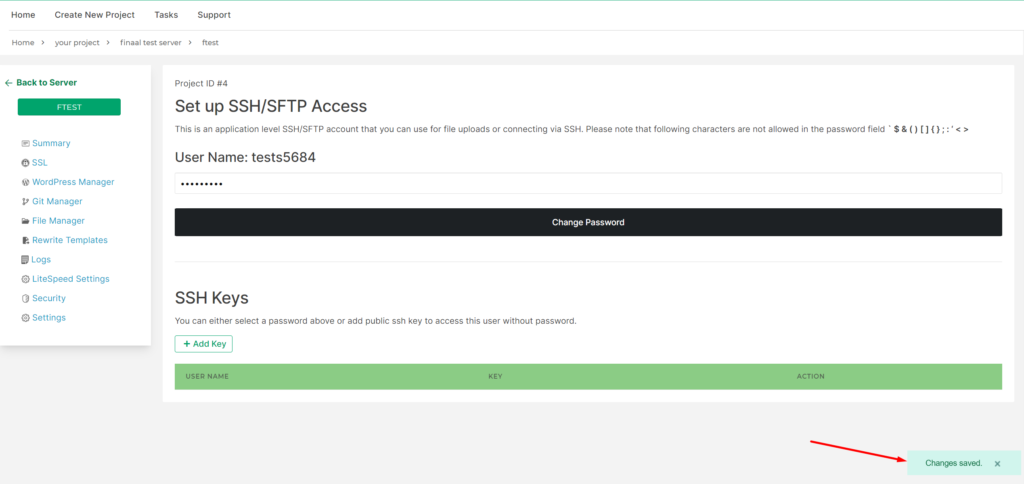
Use this password and username as SFTP access.
Copy some required Data:
After deploying the WordPress Website and creating the SFTP account you have to keep the following information because, during the transfer from the old host, these details will be asked.
- Server IP.
- Domain name.
- SFTP account username and password.
- The path where your WordPress site is installed.
All this information must be right to transfer. If any of this is wrong you can not transfer your site.
Things to do on the source of your Site (existing host):
Now this time is to do some preparation to the server from where you have to move the WordPress site. Here on this site we just need to do a little setup according to the steps and information we processed above.
Install Migrate Guru Plugin:
First of all login to the admin dashboard of the WordPress website which you need to move to CloudPages (Do this step on your old host, not on your new site that you just created on CloudPages). Then you have to install the Migrate Guru plugin, follow these easy steps to do so.
- Go to the Plugins->Add new Plugin on the left menu of WordPress admin dashboard.
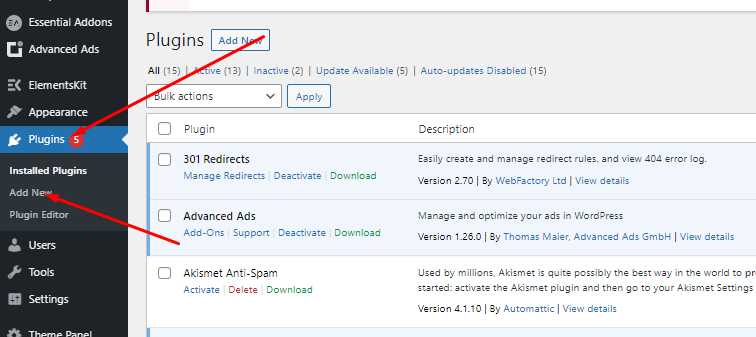
2. In the search bar of the Add Plugin page write Migrate Guru you will get the plugin press install.
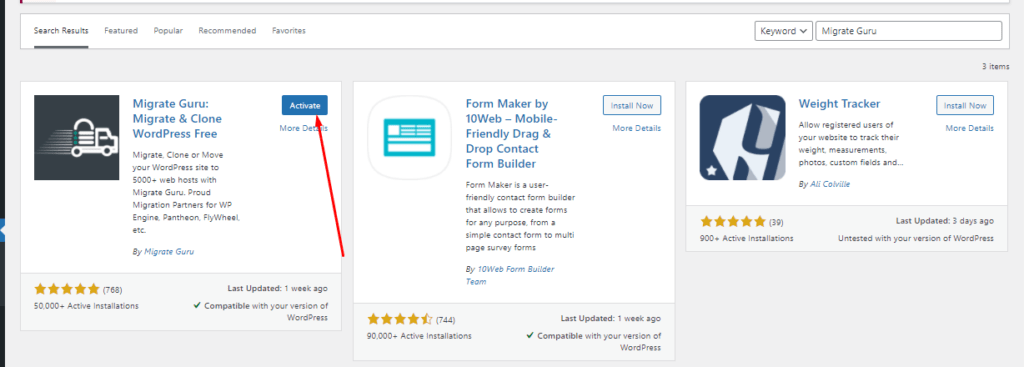
3. Once the plugin is installed you can see the activate button click on it and the plugin will be activated.
A migrate guru option will be there in the left sidebar.
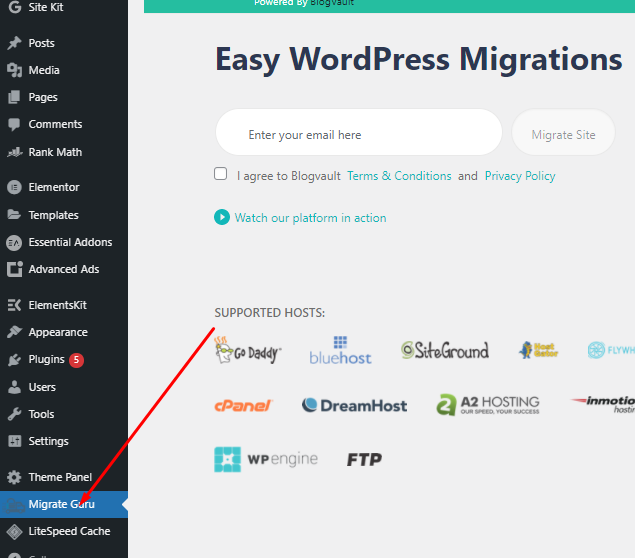
Provide Details:
Now all setup is done for the plugin your site is ready to migrate. Just need to provide some information in two steps.
- Add an email where you will get a notification about the start of migration and completion. Agree with the terms and press the Migrate Site button.
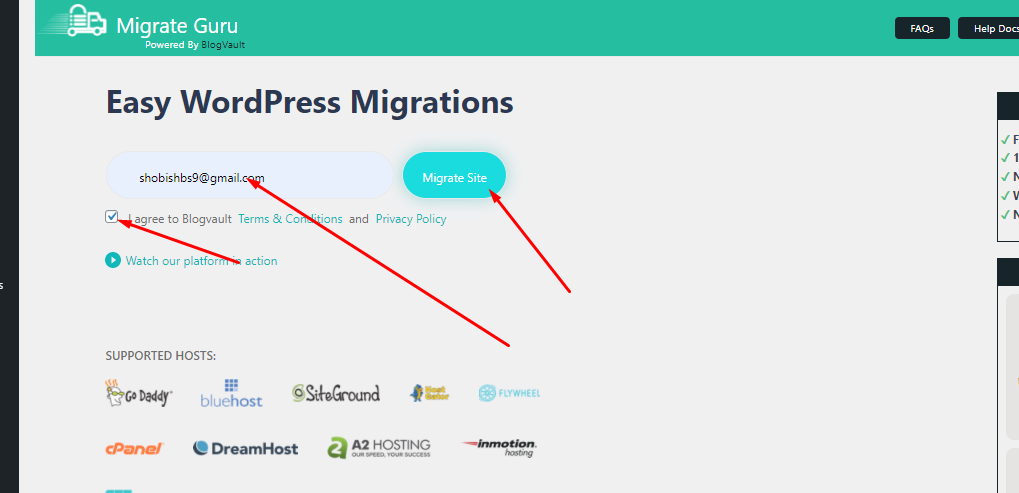
2. There are different ways you can use but in the case of CloudPages use FPT.
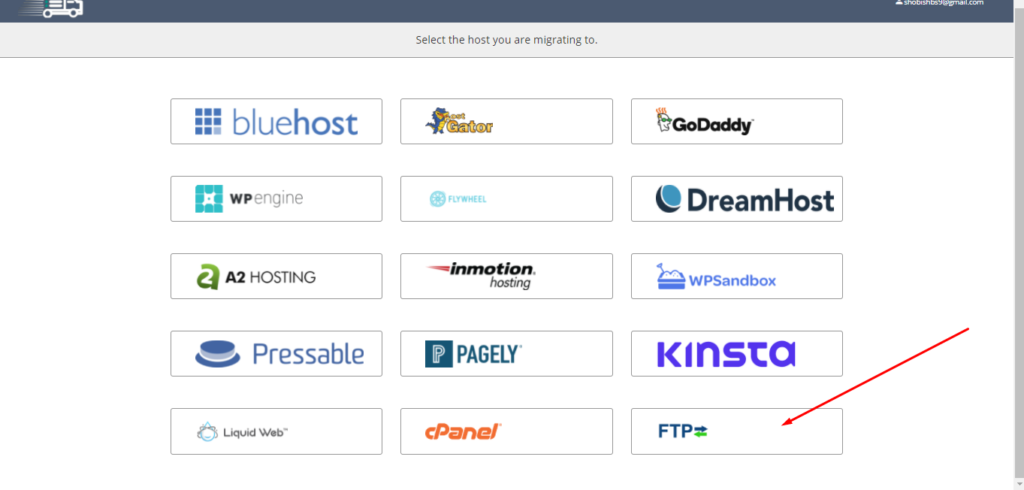
- Destination Site URL (Provide the website domain name on which you want to move).
- FTP Type (Select SFTP from here)
- Destination Server IP/FTP Address(Provide your new Server IP on which CloudPages is installed)
- FTP Username(The STFP account username that you created in the above section)
- FTP Password (The STFP account pass which you created in the above section)
- Directory Path (Path where you public_html folder is in case of CloudPages it is /home/yoursitecom/public_html)
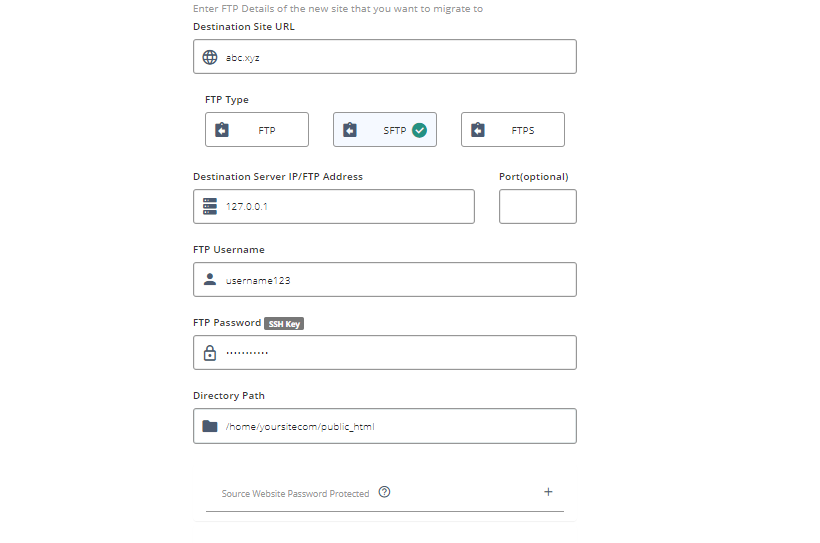
Note: see the path from the file manager in CloudPages. no "." before com, net, XYZ, etc.
After providing all information click on the Migrate button and migration will start.
You can see the progress of the transfer and while moving using Migrate Guru there will be no load on your server everything will be handled by the Migrate Guru.
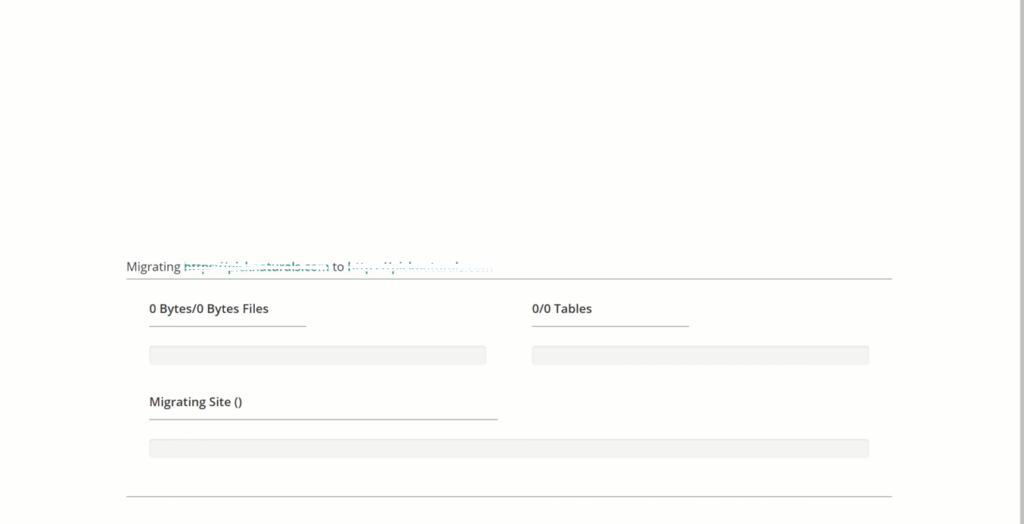
Once the transfer is completed you can see this screen.