CloudPages is designed to make it easy for WordPress users to manage their websites.
In this article, I will discuss how to migrate WordPress sites using the All-in-One WP Migration plugin from any host to CloudPages with no issue. After reading this article you will be able to move your website from any host to CloudPages.
Also read: How to migrate WordPress from any Host to CloudPages.
Table of Contents
Prerequisites:
Before you move your site from any other host you must have these things done.
You must have a server from any provider and a CloudPages account to perform these tasks.
- Create a Project.
- Deploy Server.
- If you are a new CloudPages user you will get 7 days trial of our Agency plan, so you don’t need to add any payment method.
- Install All-in-one Migration plugin
You must have to do these as everything on CloudPages depends upon the Project. If you have a project you can add a server and if you have a server you can add a website.
Setup Need to be done on CloudPages:
You have to set up a WordPress website first on CloudPages before moving your site from any other host. So please follow these steps to do so.
Deploy WordPress Website:
Deploying a WordPress site is a few-click process on CloudPages. You just have to use CloudPages WordPress Manager. Go to Deploy WordPress, provide all required information, and press the Deploy button. You can deploy WordPress using this article.
Keeping this article short I have provided the link above where you can read how to deploy a WordPress website on CloudPages.
Things to do on the source of your Site (existing host):
Now this time is to do some preparation to the server from where you have to move the WordPress site. Here on this side we just need to do a little setup according to the steps and information we processed above.
Install All in one Migration Plugin:
Step 1: Log in to your current WordPress as an Administrator.
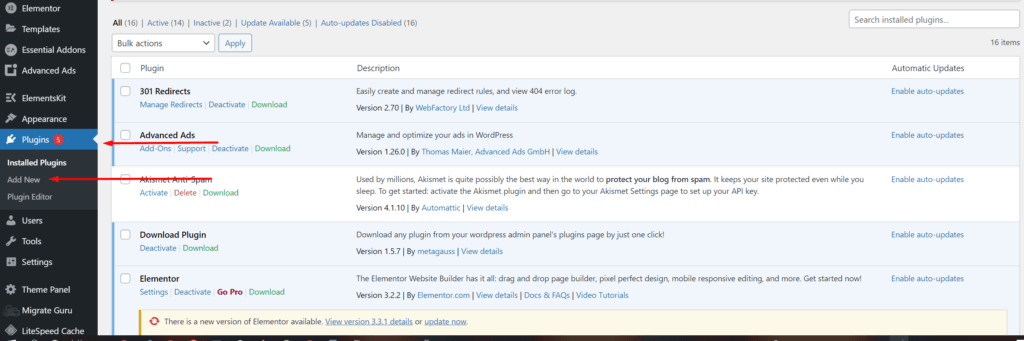
Step 2: Click on the Plugins -> Add New from the left sidebar of the admin panel.
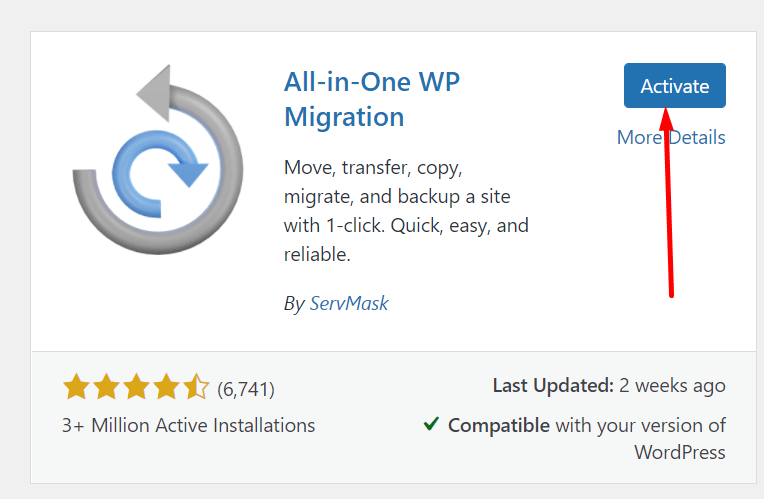
step 3: Search All-in-one Migration and look for a plugin just like the following image and click on the Install Now button.

Step 4: After installation click on the Activate button once the plugin installation is complete.
After you install the plugin, you’ll see a message that says “Success” and a link to the plugin list.
Now, we can export data from this site and import it to any WordPress site using this plugin. So, let’s start with the export process.
Export WordPress data to file
Once the plugin is active, you will see the All-in-one WP Migration option in the left sidebar of the admin dashboard.
When you click or hover on the All-in-one WP Migration option from the left sidebar, you will see a few more sub-options. Click on the Export option in your current WordPress installation. See the following image for reference.
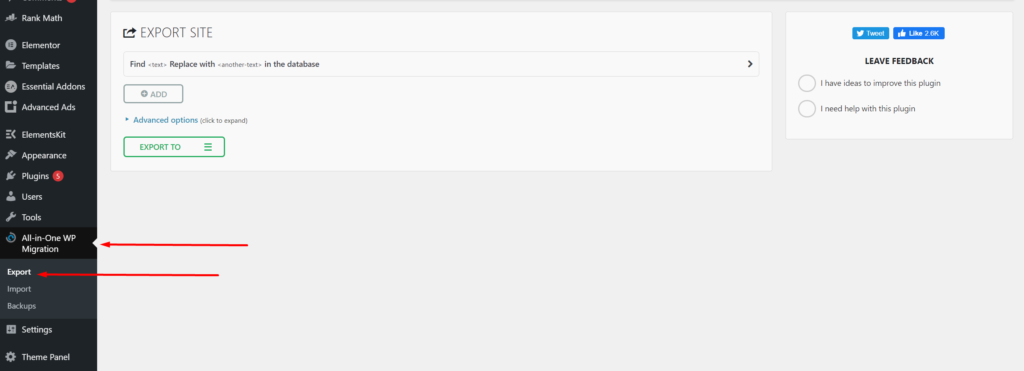
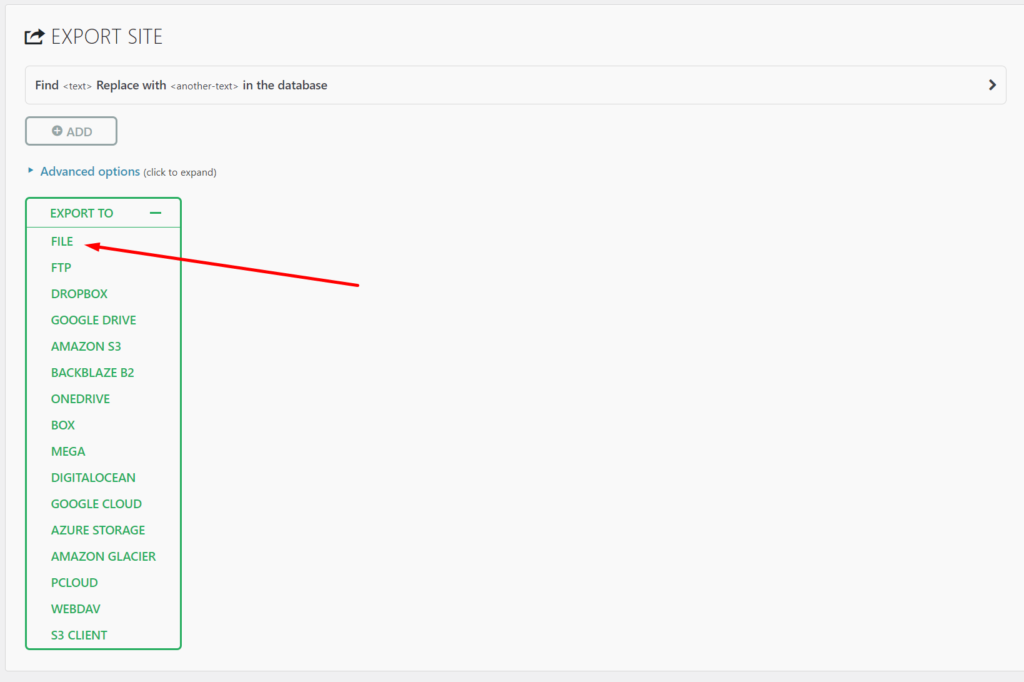
Now click on the EXPORT TO button, and then click on FILE.
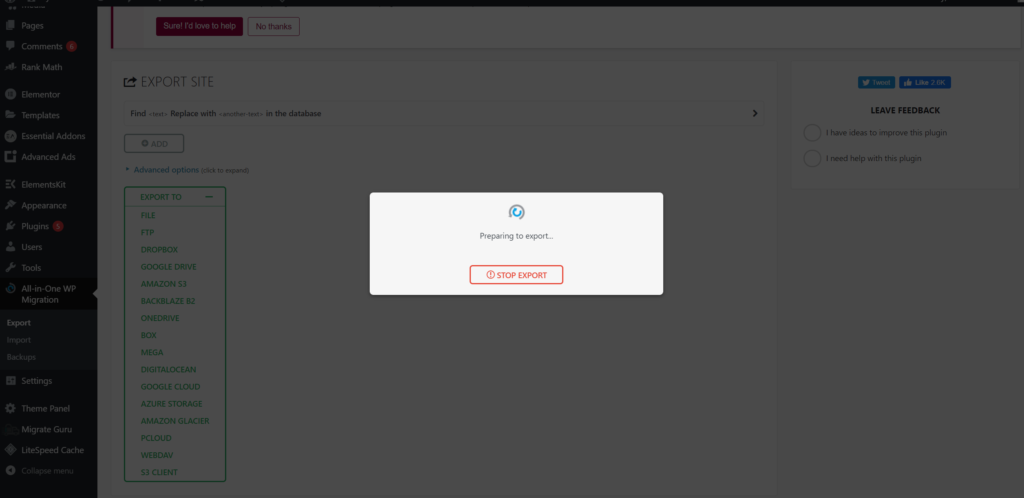
Once you click on File the Exporting process is started and it takes some time for Exporting, Archiving Files, and exporting the database, etc.
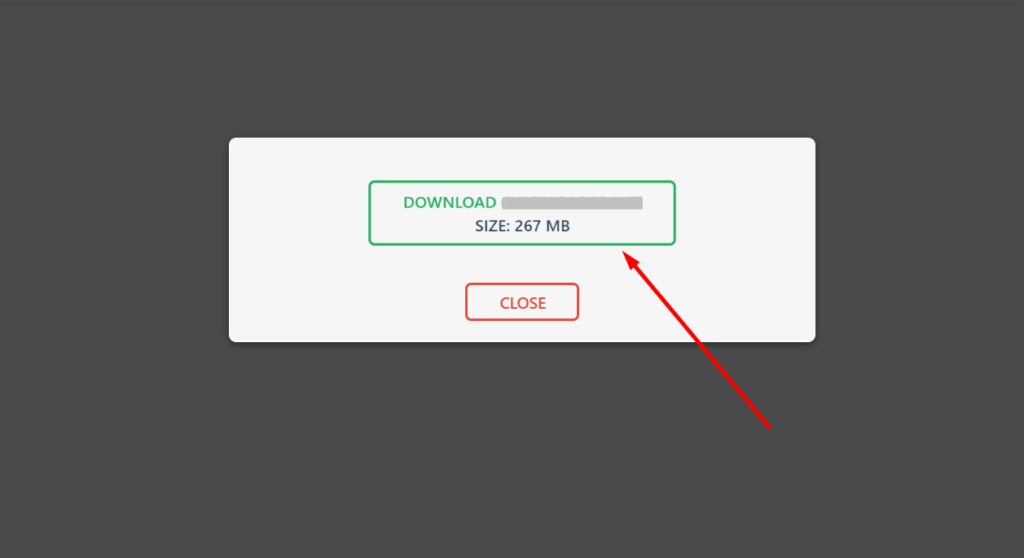
Once the process ends you can see the following output on your screen, click on the Download button.
By clicking on the download button, you can see the download is starting in your browser or Download manager.
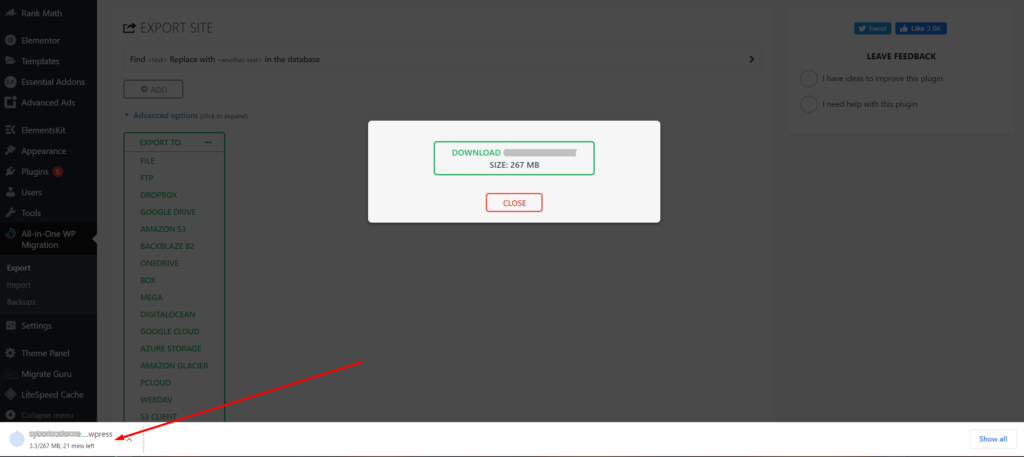
Once the file is properly downloaded the whole Exporting process is finished.
Import WordPress Data
After exporting now we have to import the site on the CloudPages server.
Now open access to the WP-admin dashboard (on WordPress site installed via CloudPages) and go to the All-in-One Migration-> Import option in the left menu.
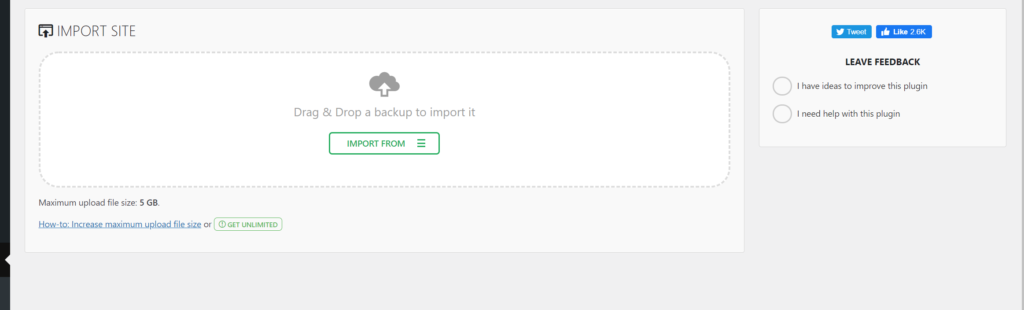
You can see the import screen in your front.
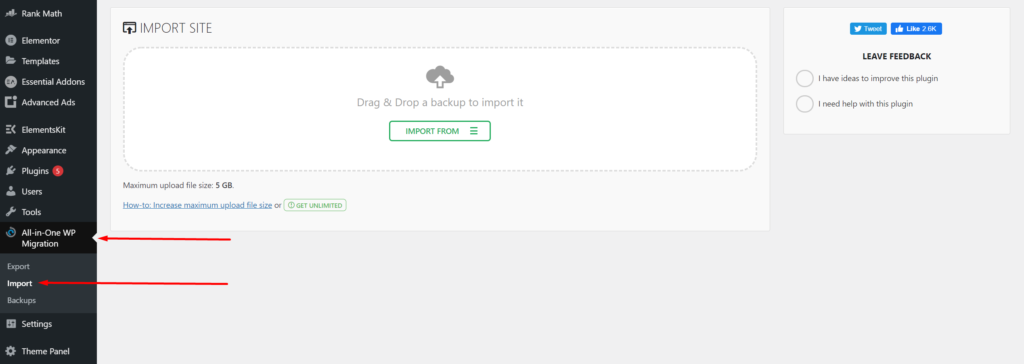
Here you can Drag & Drop that file that you downloaded in Exporting step or Click on the Import From button
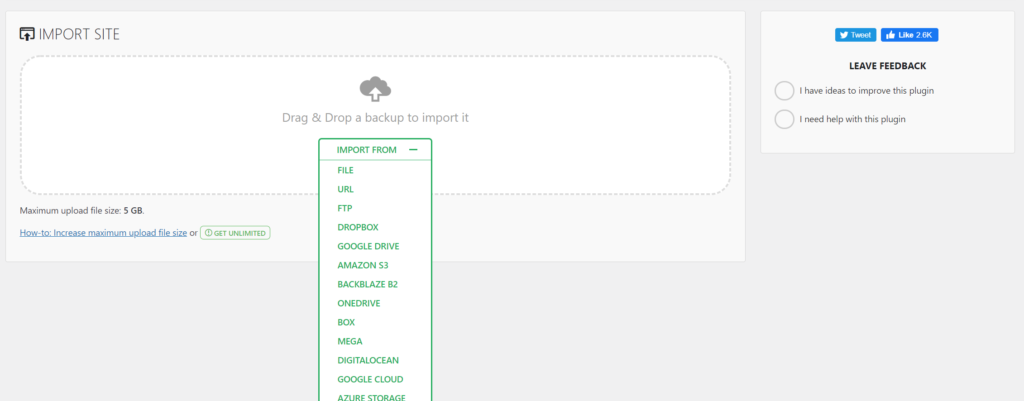
Once you clicked on Import From button you will see multiple options we will select File because we exported using this method, click on FILE.
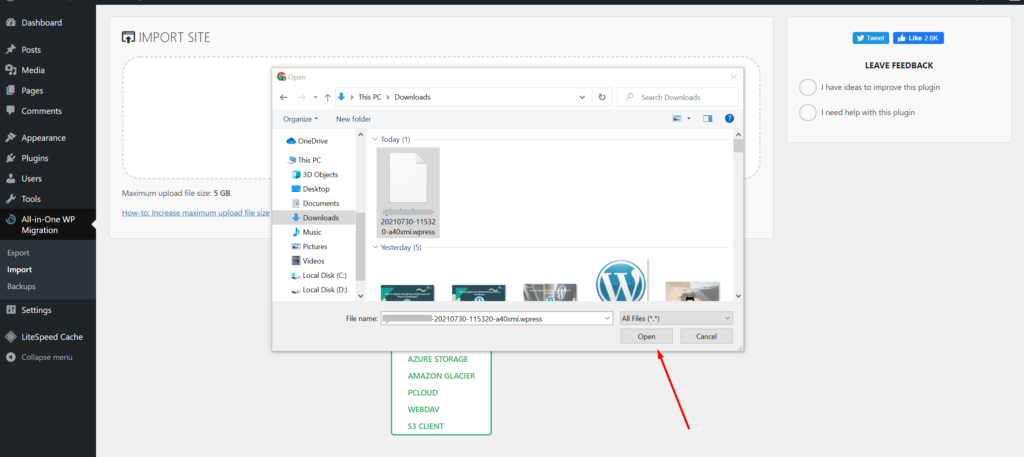
Select file that you want to import and click on the open button (select the file that you have just downloaded above)
The importing take some time to complete.
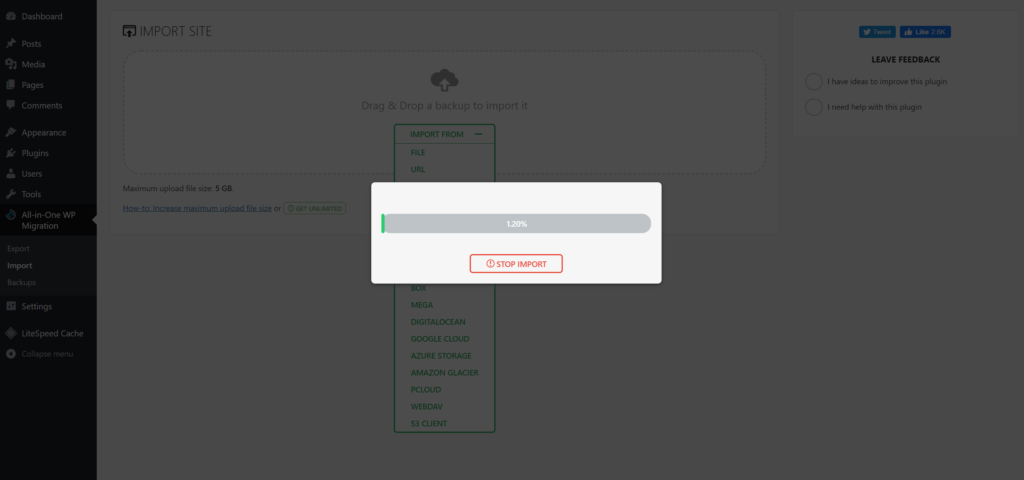
Once its 100% completed, the following output display on your screen, click on PROCEED button
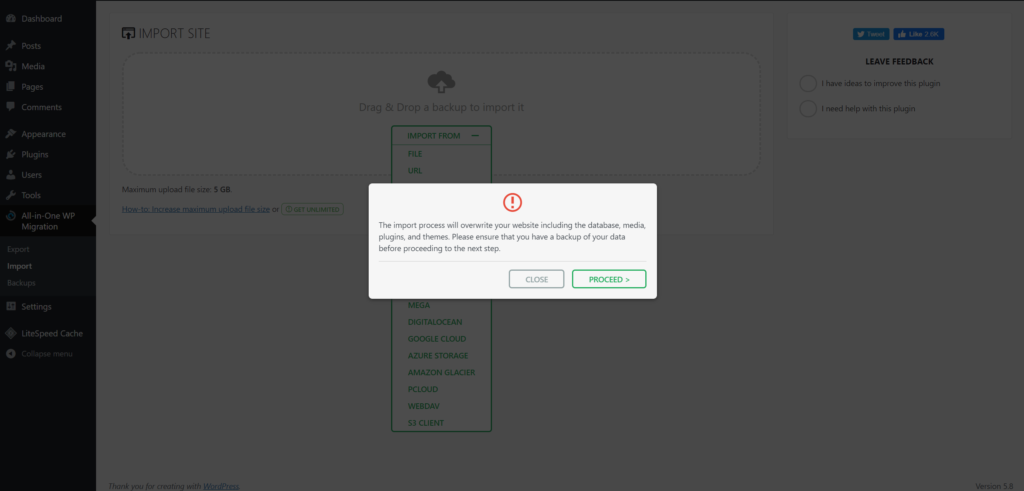
By clicking on this button the restoring process is started and it takes some time to complete
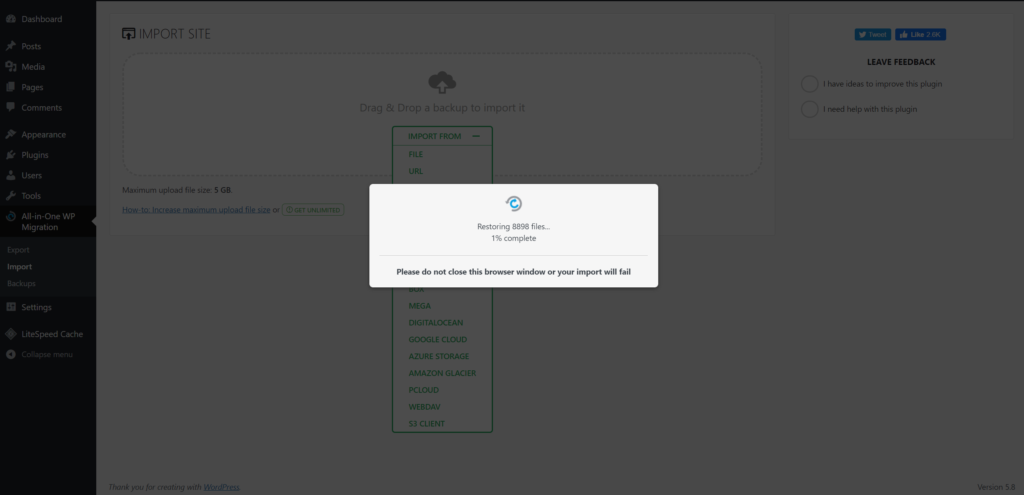
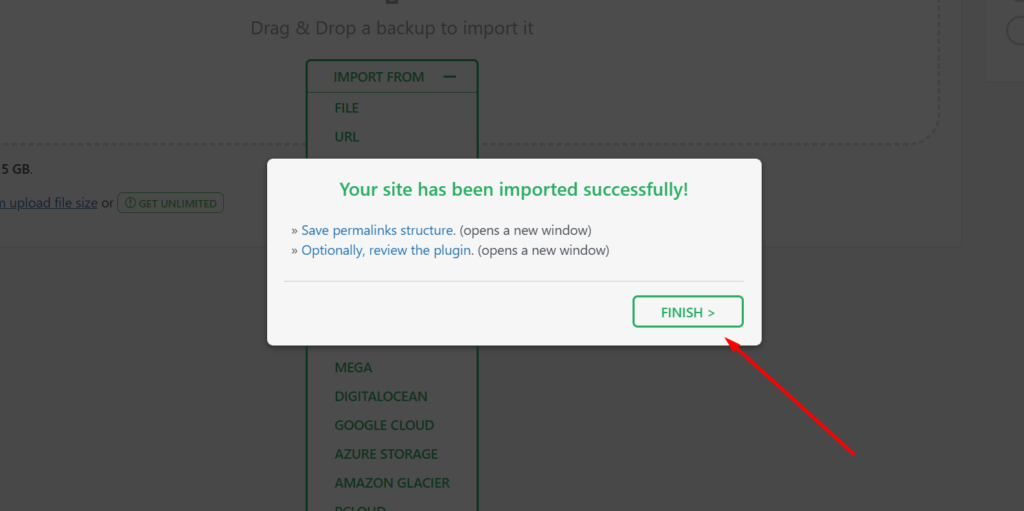
After the restoring process is complete your data is successfully completed, click on finish.