
In this tutorial, you will learn how to use Amazon SES (Simple Email Service) to send emails. Email service is required for all sorts of sites to send transactional and marketing emails.
So if you are sending transactional or marketing emails to your customers through WordPress, read on.
This article explains how to set up a domain on Amazon SES and then create SMTP credentials that you can use on your websites or applications to send emails.
Table of Contents
Pre Requisites:
- Domain Name
- Cloudflare account
Before moving forward, you need a domain name and a Cloudflare account. We have a detailed video and a tutorial here to get a domain from NameCheap set it up on Cloudflare.
Setup Amazon Account:
To continue, you must first create an Amazon AWS account. This can be done by going to Amazon’s Web site and creating an account.
Setup Simple Email Service:
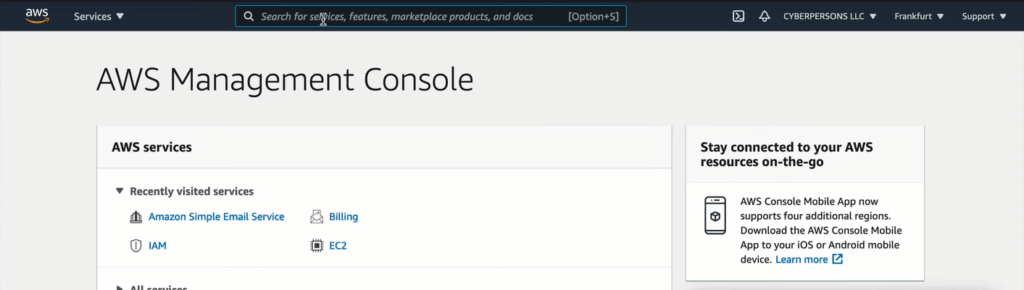
You can view the AWS dashboard after signing up or logging in. You’ll see a dashboard similar to this.
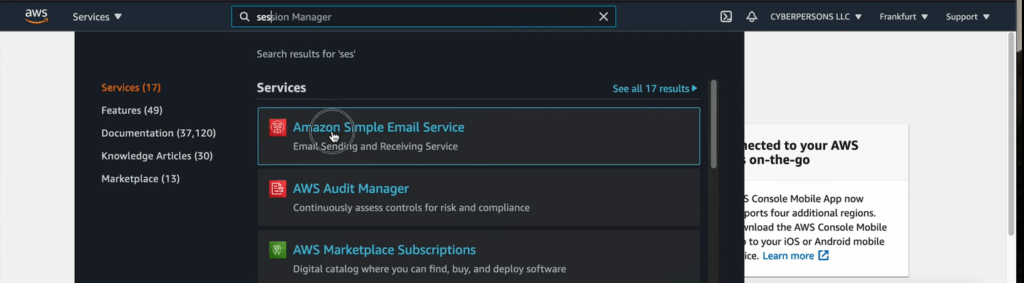
From the top search bar search Simple Email Servies (SES) and check for the results. Click on Amazon Simple Email Service from the search results.
This will redirect you to new Amazon SES dashboard.
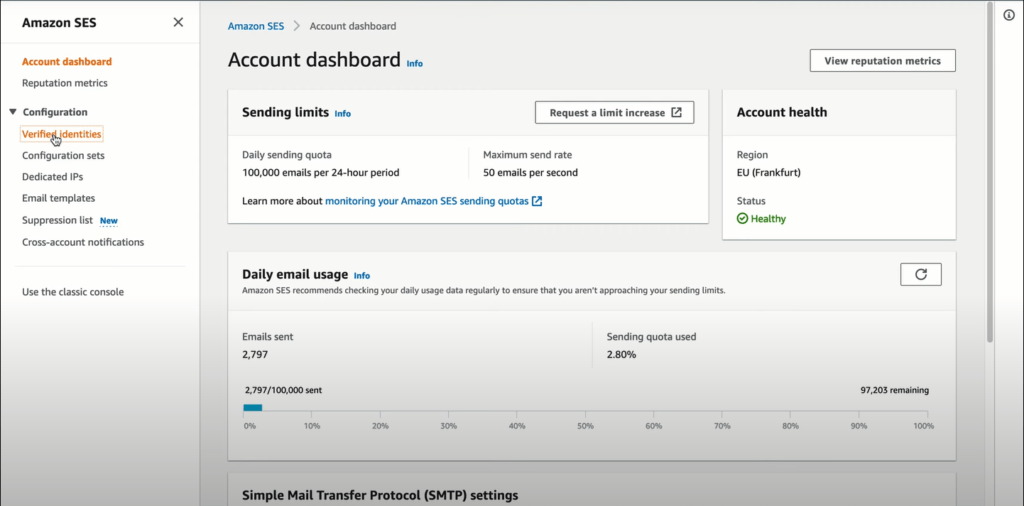
The first step here is to configure your domain. To do so, click on Verified Identifications. This will take you to the domain configuration page.
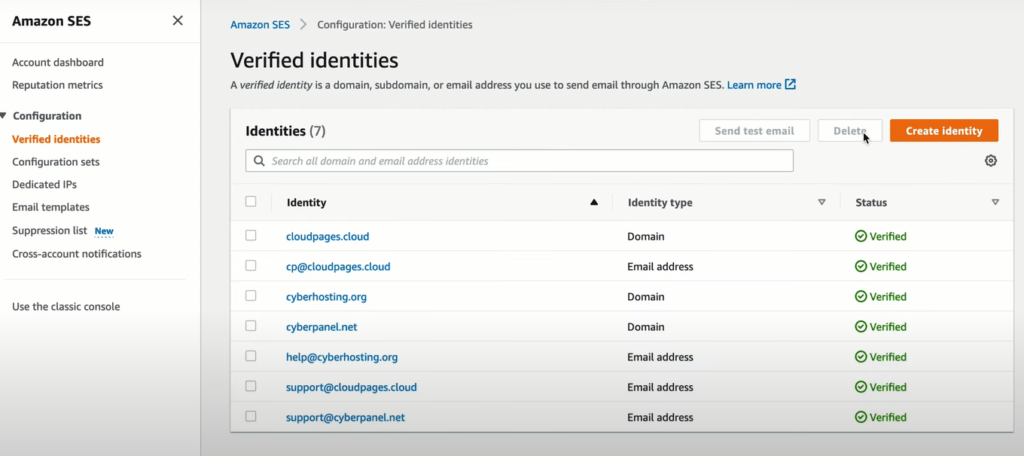
On this page, you can view all verified domains and create a new identity by clicking the Create identity button
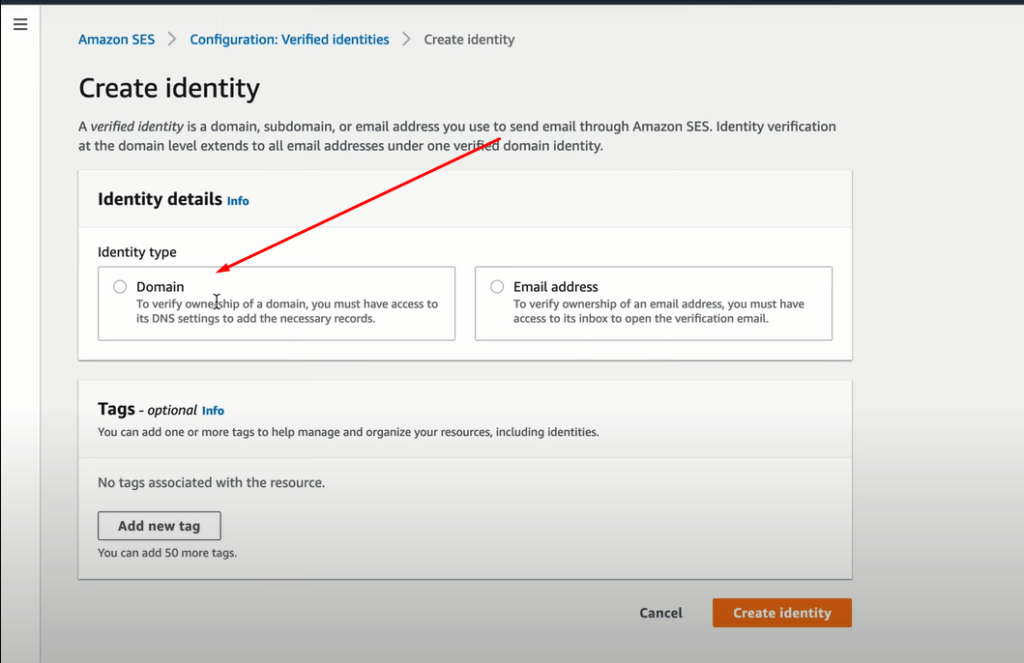
First, click on the domain name to verify it. After providing your domain name, scroll down and click on the Create Identity button.
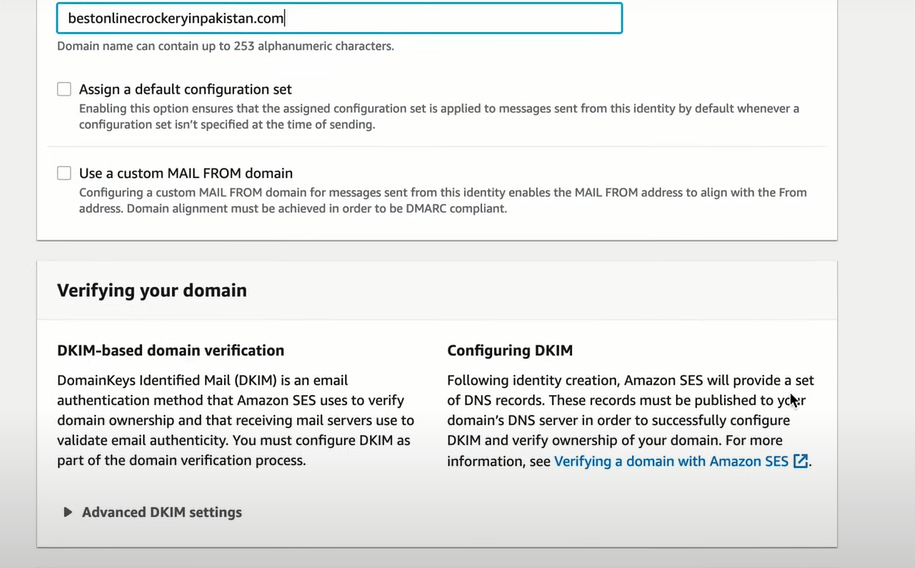
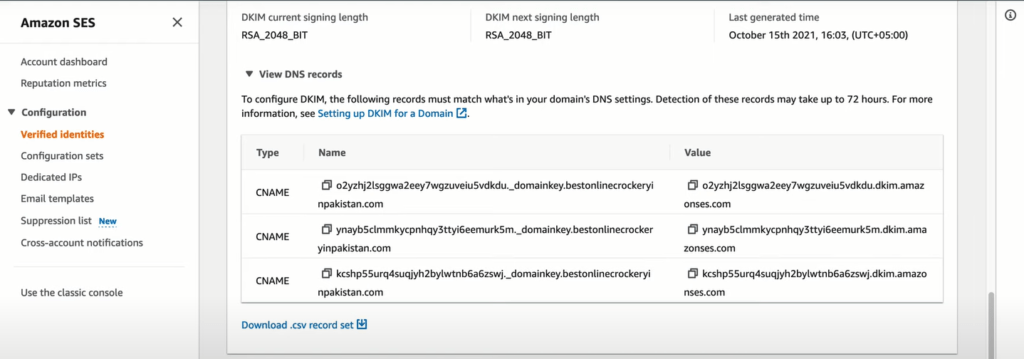
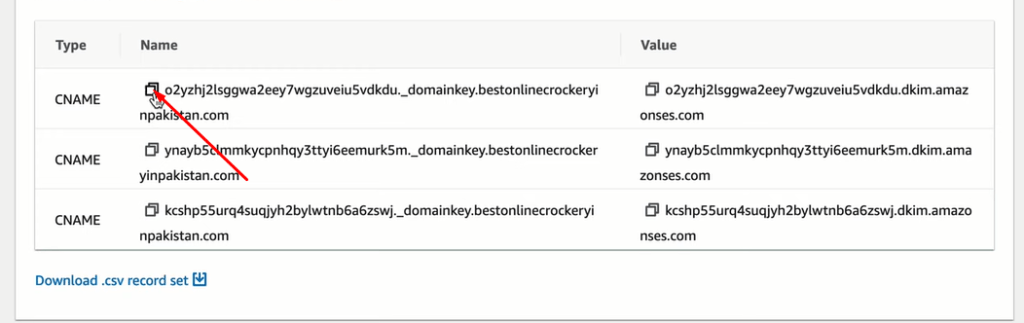
Amazon will add your domain to domain identity, and you will be provided with some DNS records that will need to be updated on the DNS manager, such as in Cloudflare, for Amazon to verify your ownership. Basically, this is a domain verification process.
In the case of email service, you also need to set up a mail from domain. Just go below this page and click edit.

Now in the next screen add mail domain-like:
mail.yourdomain.com
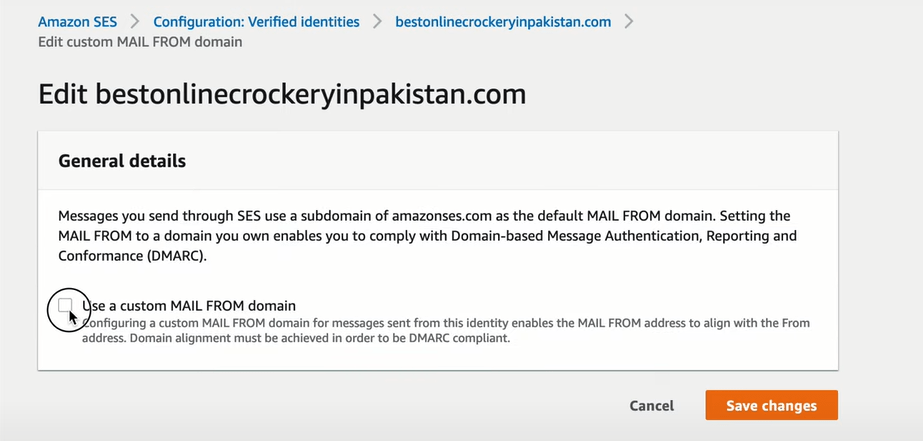
Click on the use of a custom mail from the domain. Then it will ask for the domain name, provide your custom mail domain and click on Save.

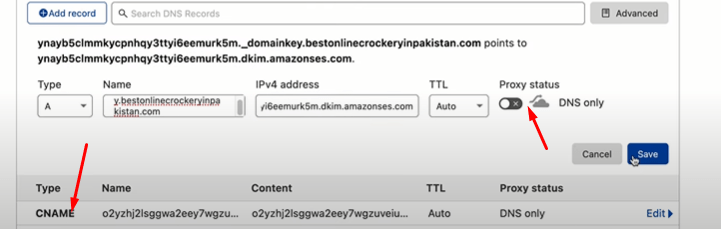
Now copy all records provided by AWS and after copying these records add these to the Cloudflare account.
Now login to your Cloudflare account and add DNS records as you can see in this video.
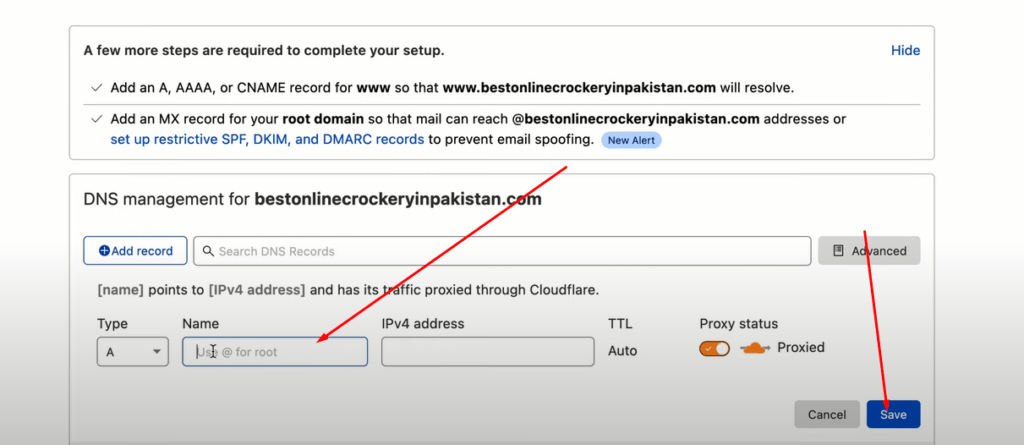
These are CNAME records. (Turn off Cloudflare proxy for these records).
Some MX and TXT records are also given at the bottom. Copy these records too and add them to Cloudflare as well.
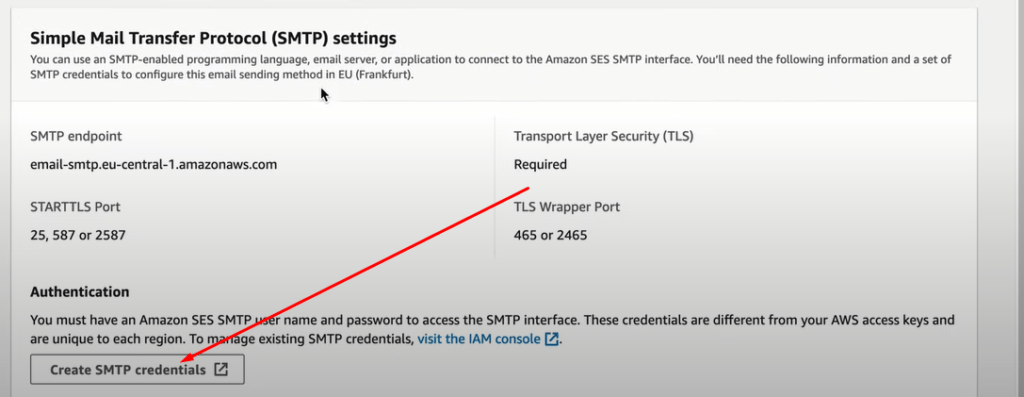
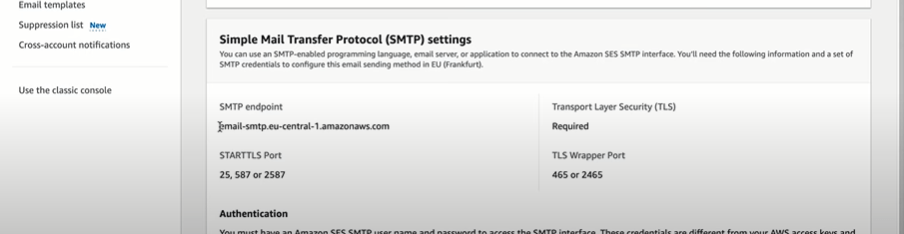
All records and information have been added, but Amazon needs some time to propagate and verify the domain name. After your verification is complete, you need SMTP info to connect to your site and send an email.
To create SMTP credentials you just have to navigate to the dashboard of your Amazon SES. Scroll down and click Create SMTP credentials.
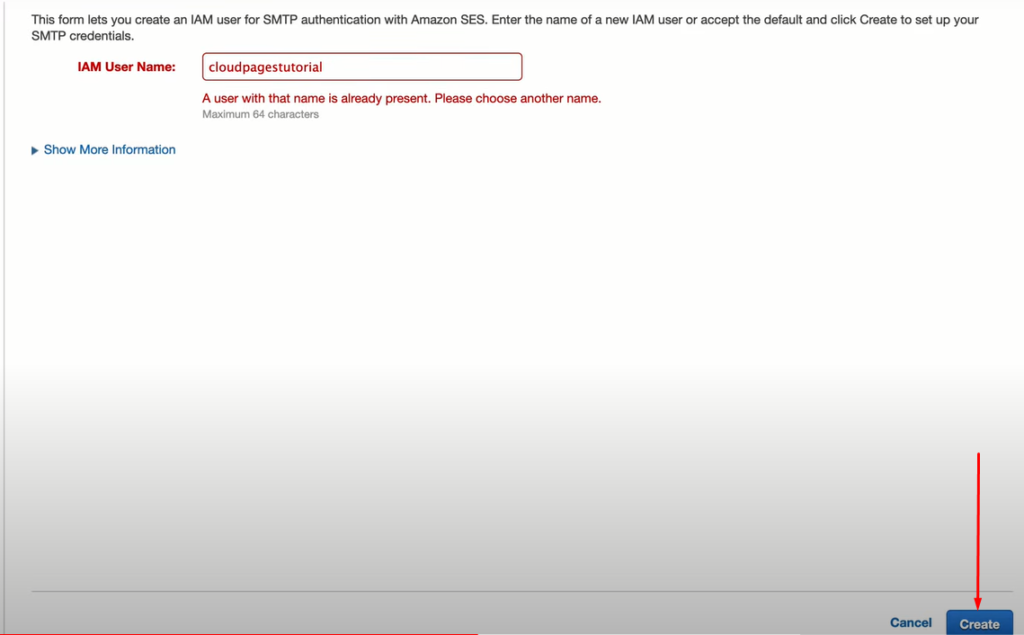
The next screen will appear. In the beginning, this screen asks you to enter the IAM user name. You may use any name you wish.
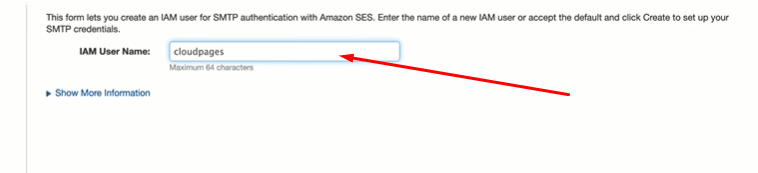
After providing the name just click on the Create button it will create your SMTP credentials.
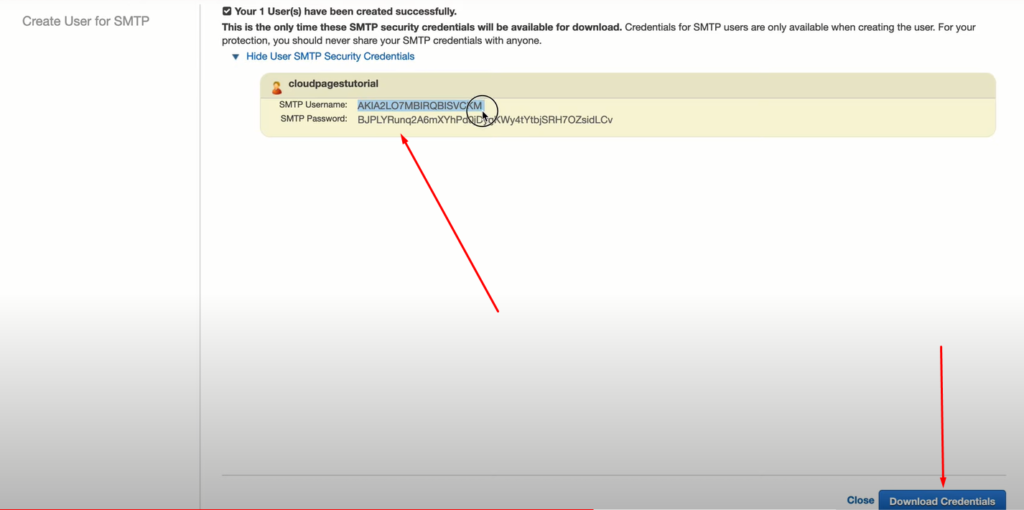
Now you can download your credentials or you can copy paste from the screen.
All done from the Amazon side, now you can use these credentials to send emails through your WordPress site or custom application.
Setup SMTP on WordPress:
For this article, I deployed a WordPress site on CloudPages using this documentation.
After deploying login to your WordPress site if you are with CloudPages you can log in using the direct CloudPages login feature.
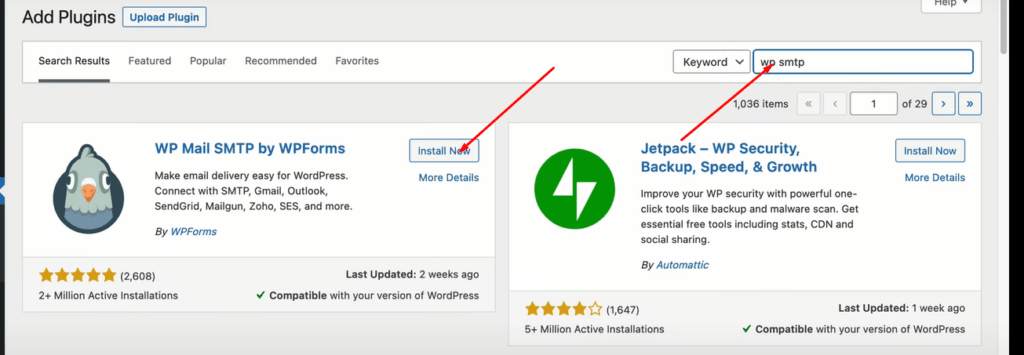
After login installs the SMTP plugin for your WordPress. To do so go to the Plugin-> Add Plugin from the left menu.

Search for WP SMTP in the search bar and then from the result install the plugin shown below in the picture.
After installation and activation, you have to run the setup wizard of the SMTP plugin.
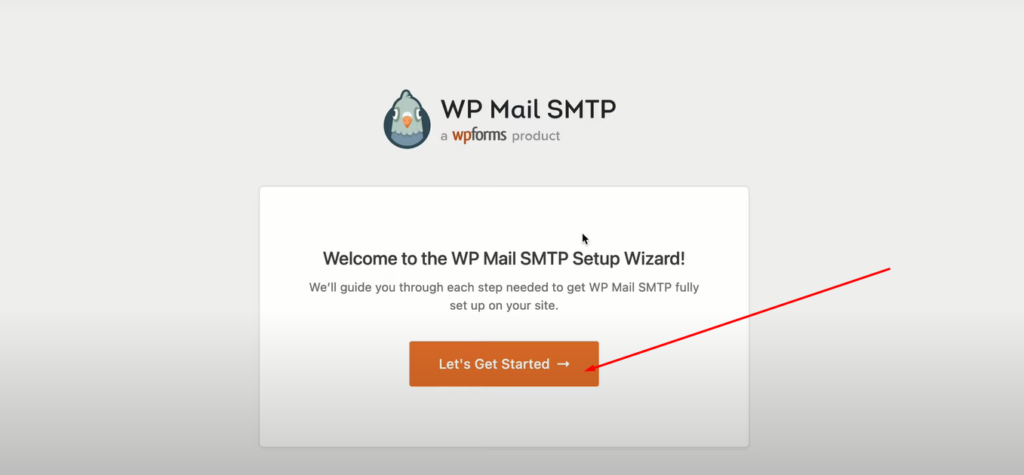
Click on the Let’s Get Started and go to the next step.
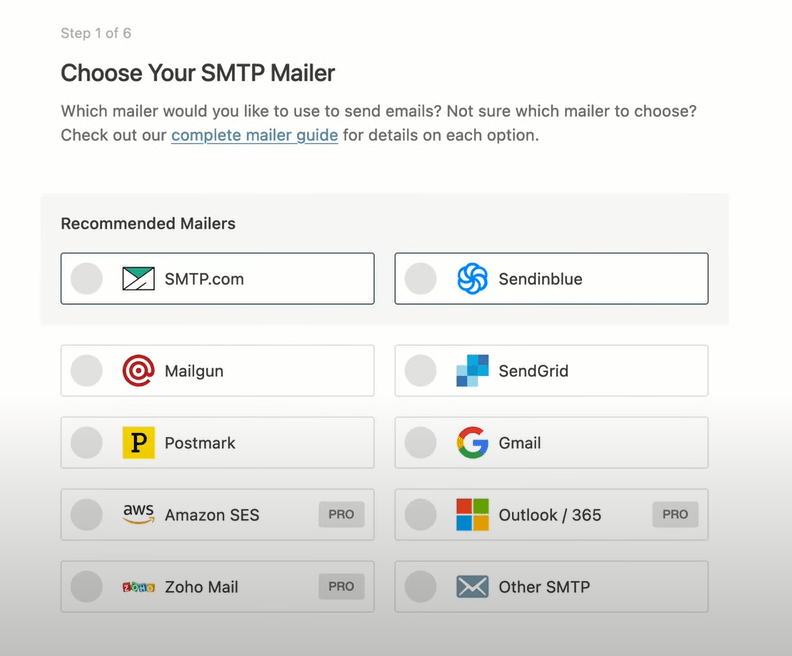
Select Other SMTP from the SMTP Mailer list.
Now you have to provide all the details like SMTP username, password, hostname (which you just set up above)
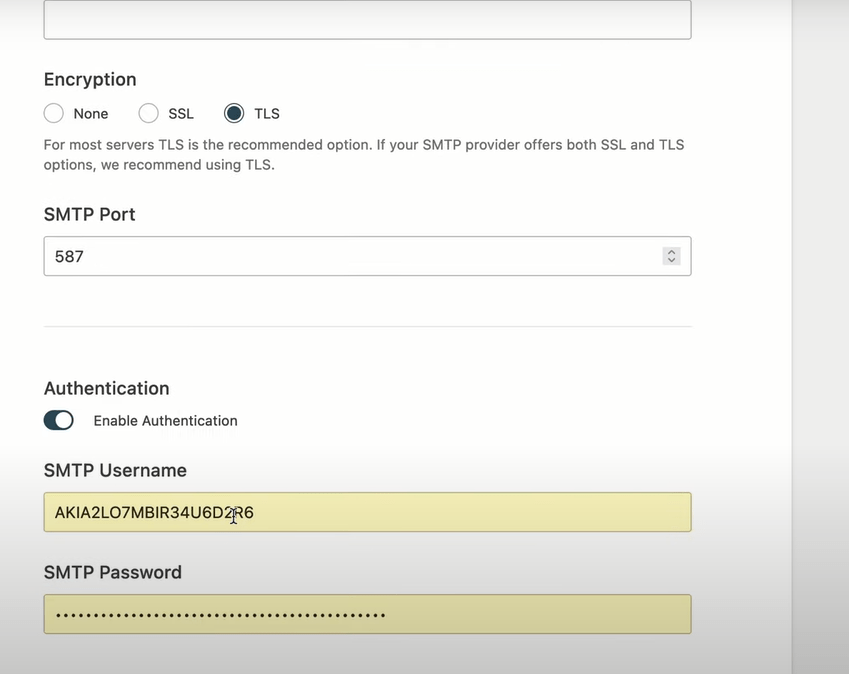
Here provide all data according to your domain and Amazone SES details.
Your SMTP host will be the host you will get from the Amazon dashboard.
After providing all information. Click on save and Next and follow along to finish the process.
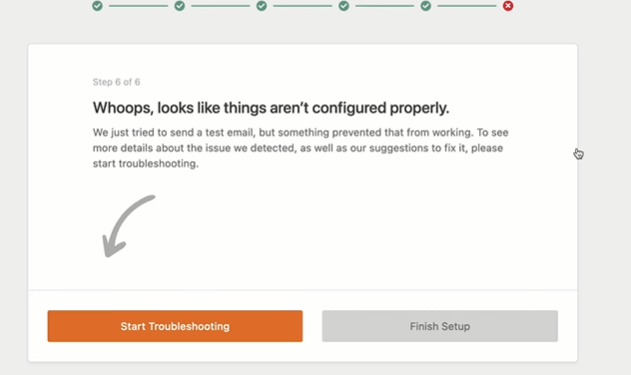
Now test a mail using the send test mail feature.

Here you can send a test email and check whether everything is in order. If you have any questions, feel free to comment below.