

Hetzner is one of the popular VPS and dedicated server providers.
Hetzner has been providing hosting since 1997 and is certified to operate data center facilities. It provides very good cloud servers, from data centers that are based in Germany and Finland.
In this article, I will explain how to step up CloudPages on the Hetzner Cloud server in a step-by-step procedure.
Table of Contents
Step-1: Get a Server from Hetzner
Before moving forward, you must have an account on Hetzner, if you don’t have an account on Hetzner click here to register, If you have already an account then click here and provide credentials and log in.
If you don’t have a project, you can create one once you are logged in. As I have already created two projects, I’ll proceed to create a new server on Hetzner. To do this, select the project box to create a server.
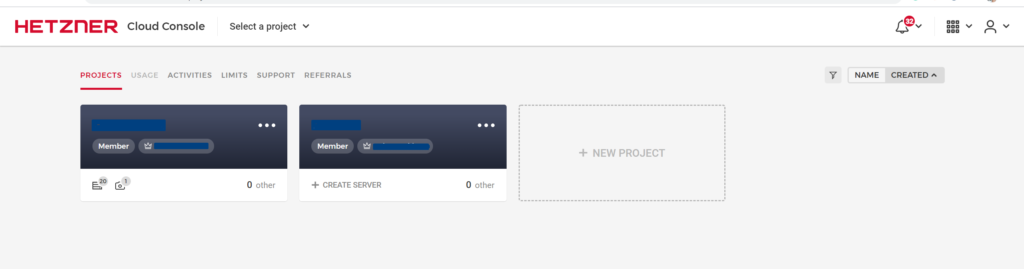
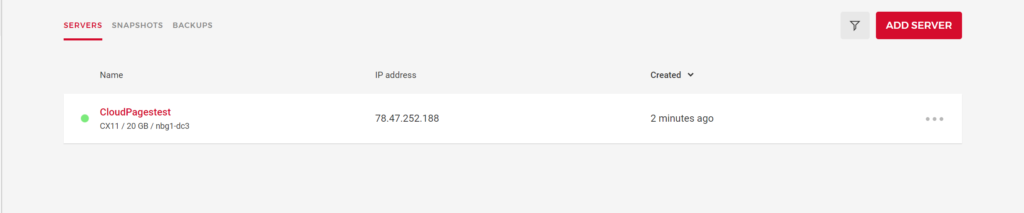
After clicking on the project you can see the project dashboard where you can add the server. For adding a new server click on Add Server button.
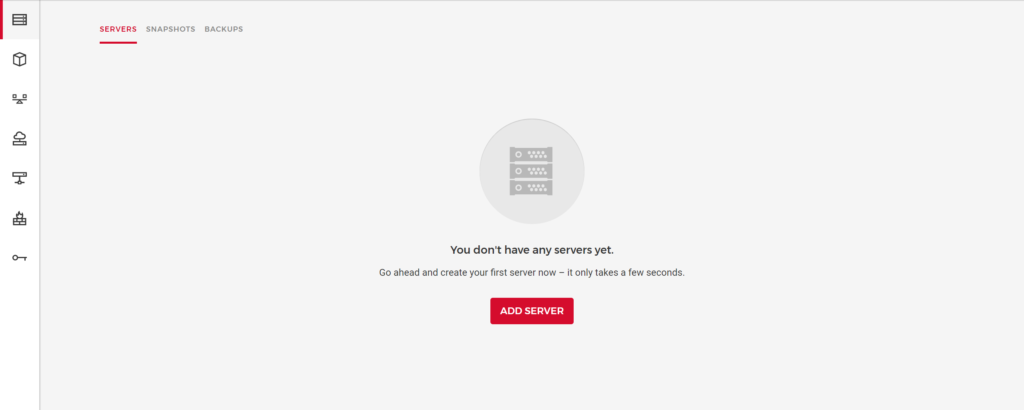
Now follow the step-by-step procedure for creating a server.
1- Choose the Location
In this step, you can choose a data center Location or Region from the following locations.

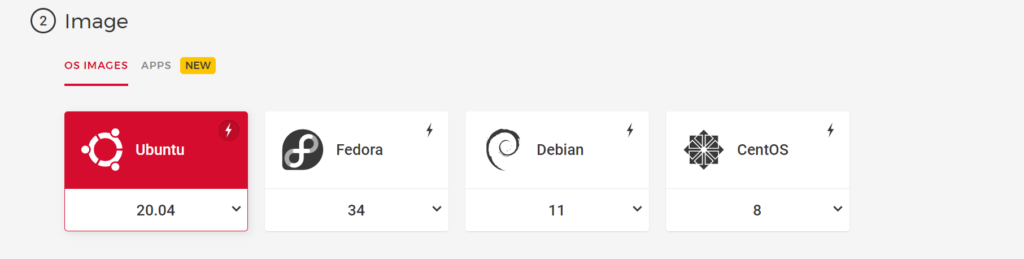
2- Choose the Image
In this section, you must choose Ubuntu 20.04, because CloudPages only works with Ubuntu.
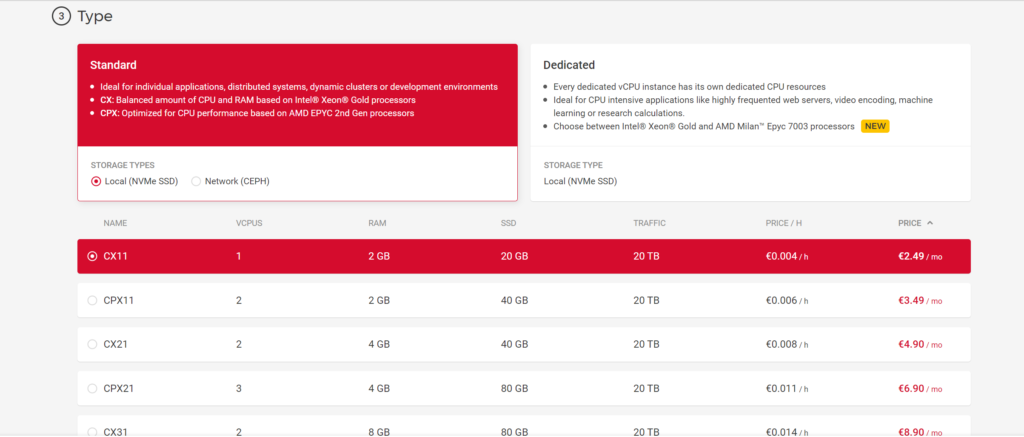
3- Choose the Type
Select the appropriate type here Standard or Dedicated. When you choose a type, it will display a list of plans and prices. Select the plan based on what you want from the list.
4- Add Volume
If you want to add extra volume, click on Create Volume and add a volume according to your requirements. (We will leave it to defaults here)
5- Add Network
According to your requirements, if you want to add a network, click on Create Network and add it. (We will leave it to defaults here)
6- Setup Firewalls
if you want Setup firewalls you can set it up accounting to your requirements.
This feature is not necessary for CloudPages So it is up to you to set it up if you want. (We will leave it to defaults here)

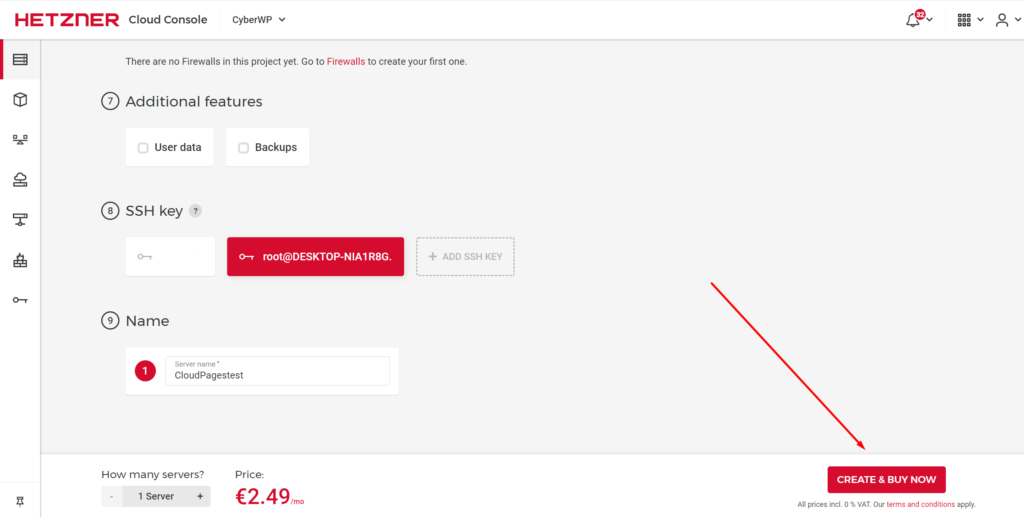
7- Setup Additional Features
You Can set up User data and Backup by checking these checkboxes. (We will leave it to defaults here)
8- Add SSH key
This step is important, you can either add a new SSH key, if not, Hetzner will email you a new password once your server is created, you can use the password to log in.

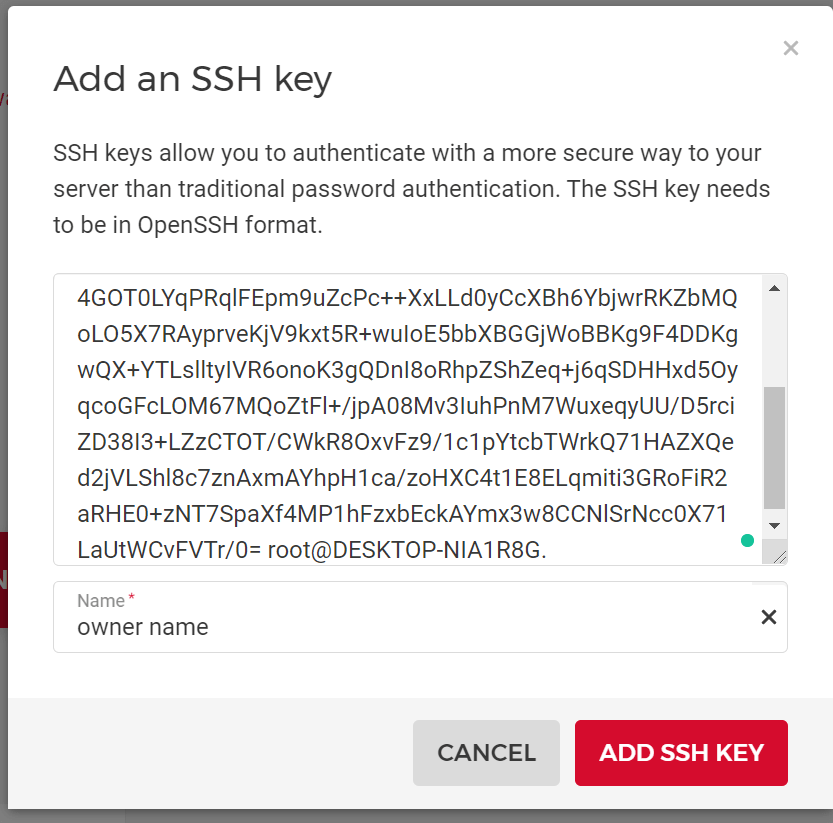
Add New SSH key
As soon as you click Add SSH Key, a pop-up appears on your screen. Enter the key in the first box, and in the second box, enter the key’s name, and click Add SSH Key.
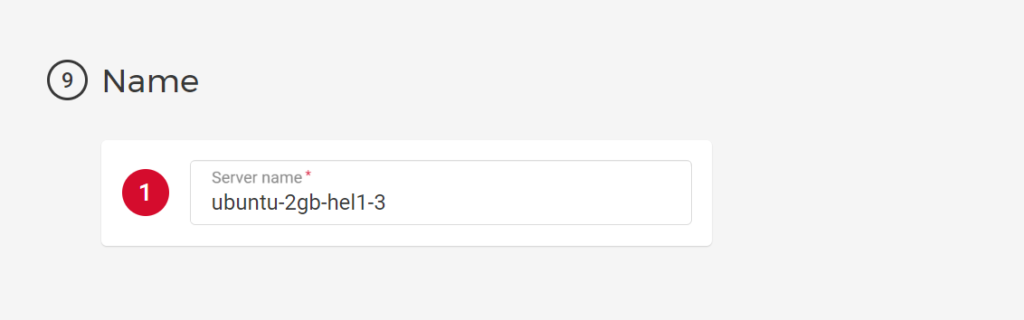
9- Provide Name
This is the last step where you have to enter the name of your server. The name can be anything that you can easily remember.
Once you have done all these steps you can see CREATE & BUY NOW button, click on it.
After a short period of time, you will automatically be taken to the next page, where the process of creation will begin
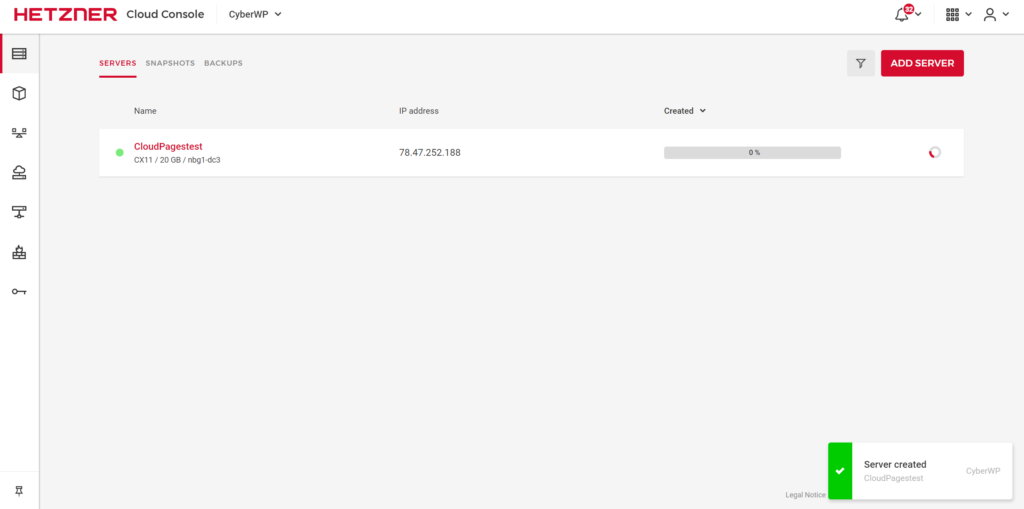
The following screenshot shows the successful completion of all the processes.
Step-2: Setup CloudPages on your server
Now your server is ready to set up CloudPages and deploy WordPress sites.
Installing CloudPages on your server is just one command away.
First, register on our platform if you don’t have an account. Once registered log in.

After registration follows these two steps.
- Create a project on CloudPages following this documentation.
- Deploy Server following this documentation.
- Deploy WordPress
CloudPages have a free plan and 7 days trial for new users, visit our pricing page to learn more.