
Just like LSCache plugin, WordPress Autoptimize Plugin is another free WordPress optimization plugin. However it mainly deals with CSS, JavaScript and Image optimizations, however, for page caching you would still need a caching plugin like LSCache or WP Rocket. Let see how to set up WordPress Autoptimize plugin for best possible results.
Please note that we will be focusing on CSS, JS and Image optimizations because Autoptimize does not provide full-page caching features.
Table of Contents
Why Autoptimize against LSCache and WP Rocket?
We’ve already written a comparison article between LSCache vs WP Rocket, so one would ask why Autoptimize when LSCache and WP Rocket can pretty much do the same thing.
- Autoptimize is strictly on-page optimization plugin that includes CSS, Java script optimizations. Where as LSCache and WP Rocket also offer full-page caching
- Autoptimize on-page optimization features are pretty great as that is their only specificity
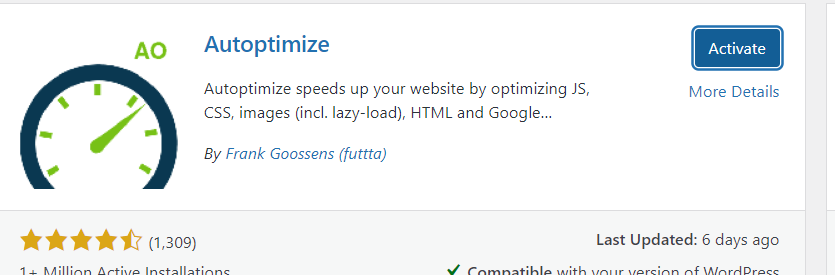
- The other best thing is its free plugin with over 1 million active installations with overall 4.7 rating (1309 total reviews) on WordPress plugin directory
How To Install WordPress Autoptimize Plugin?
Before anything, you need to have your WordPress Autoptimize plugin all set up and ready to use. Setting up this plugin is plugin is super easy and convenient.
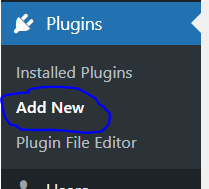
- Come in your WordPress Dashboard
- Plugins -> Add New from the left hand side menu
- Search for “Autoptimize”. The first one that pops up, is your WordPress Autoptimize Plugin with 1million plus active installations
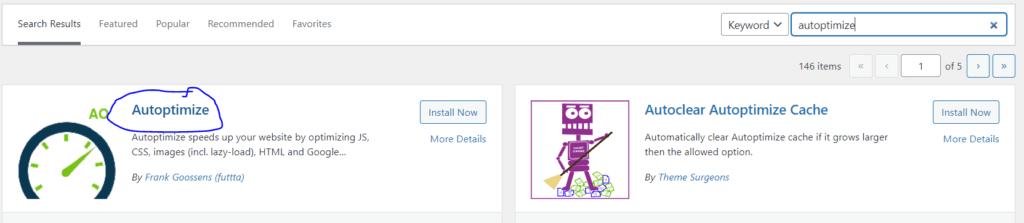
- Install and Activate
Let us start optimizing our site
To start optimizing your site you need to go to Autoptimize Plugin’s settings
Automate is the industry leader for HTML, CSS, Image, and JavaScript optimizations. Autoptimize’s extensive feature set and settings can be intimidating to navigate, as they contain a lot of options. Let’s look at some of the things you can do to make your WordPress website more effective.
We will be looking into
- Javascript Optimizations
- CSS Optmizations
- HTML Optimizations
- Image optmizations
- and finally some miscellaneous settings
Autoptimize JavaScript Optimization:
Let us now see how you can Optimize the JavaScript code of your WordPress site. JavaScript is part of 100% WordPress websites and it can really slow down your website if you add lots of plugins to your site.
So optimizing JavaScript is really important to get good Pagespeed score, we will see how Autoptimize can help optimize JavaScript.
- Click on “Optimize Java Script Code?”: It will optimize all of your JavaScript codes from your site, it will minify all your JavaScript files on the go, which will reduce the size of each file, resulting in better performance

- Enable “Aggregate JS-files”: A single file is created when you select Autoptimize’s “aggregate JS files” option. Historically, WordPress optimization relied on combining JS and CSS files. For some types of WordPress sites, aggregating CSS and JS files will still cause a performance hit, so we recommend evaluating your page speed with and without this option enabled.

- Enable “Also Aggregate inline JS?”: Autoptimize automatically extracts inline JS from the HTML and integrates it with its optimized JS file when you select the option “also aggregate inline JS”. The other options can be left untouched since most of them aren’t that effective, if we get any errors, we will fix them. The JavaScript Optimization is now complete.

Autoptimize CSS Optimization:
CSS basically helps with your website cosmetics, however, some theme developers poorly write CSS code which end up really slowing your site down.
It is really important to have optimized CSS code.
We will see how you can optimize CSS using WordPress Autoptimize Plugin
- Scroll down into “CSS options” sections
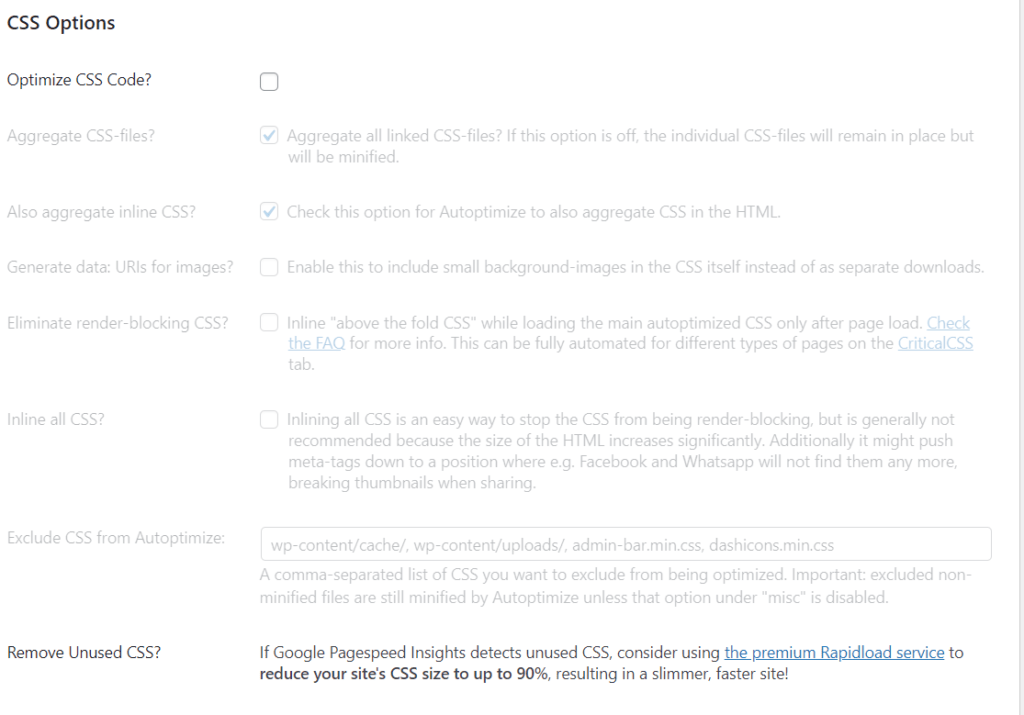
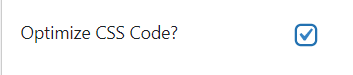
- Click on “Optimize CSS Code?”: Autoptimize will minify your CSS files if the “optimize CSS code” option is enabled. Like removing extra spaces and doing other internal optimizations
- Enable “Aggregate CSS-files”: Autoptimize combines all of your CSS files into a single one using its “aggregate CSS files” option. Sites that implement HTTP/2 may not benefit from this feature. We propose running A/B tests on your site whether this option has a great impact on your overall page speed.

- Enable “Also aggregate inline CSS?”: This will move inline CSS to Autoptimize’s CSS file resulting in a reduced page-size. And while transferring inline CSS to a browser-cacheable CSS file can reduce page size, in most circumstances, we advocate deactivating this setting.

- Enable “Generate Data: URIs for image?”: Small background images are automatically encoded as base64 and embedded in CSS. We highly recommend that you test out this option to see how it affects your page speed. Despite the fact that encoding images in base64 format minimizes HTTP requests, base64 representation files are typically 20-30% larger than their binary counterparts.

Our CSS Optimization is now complete.
Autoptimize HTML Optimizataion:
HTML optimizations usually include removing spaces from your HTML code, which reduces the overall size of your page.
- Move into the “HTML Options” section

- Enable “Optimize HTML Code”. Your HTML is reduced in size by removing unnecessary white spaces. While most sites are compatible with this feature, deleting whitespace may cause issues on some of the sites. As a result, before employing HTML code optimization in a production setting, we recommend to thoroughly evaluate it.

Autoptimize CDN Optimization:
- Move into the “CDN options” section
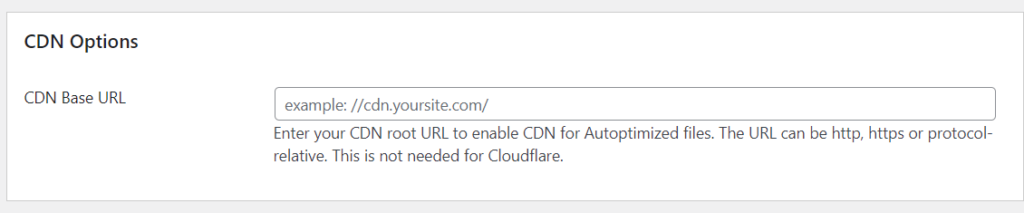
- If you are using CDN for your website, put the CDN URL here, If you are using CloudFlare, you don’t need to do anything. You would put the CDN URL in this area if you’re utilizing a different CDN service to expedite your assets. Setting up CDN is another topic, so for example if you are already using a CDN like BunnyCDN. You just put the CDN URL here and the plugin will automatically replace static resourceful URL.

Autoptimize Misc settings:
Some configurations does not fall in CSS and JavaScript options, so we will look into them here.
Miscellaneous optimization settings are available in Autoptimize. Changing some of the settings below may help you load optimized CSS and JS files on your site.
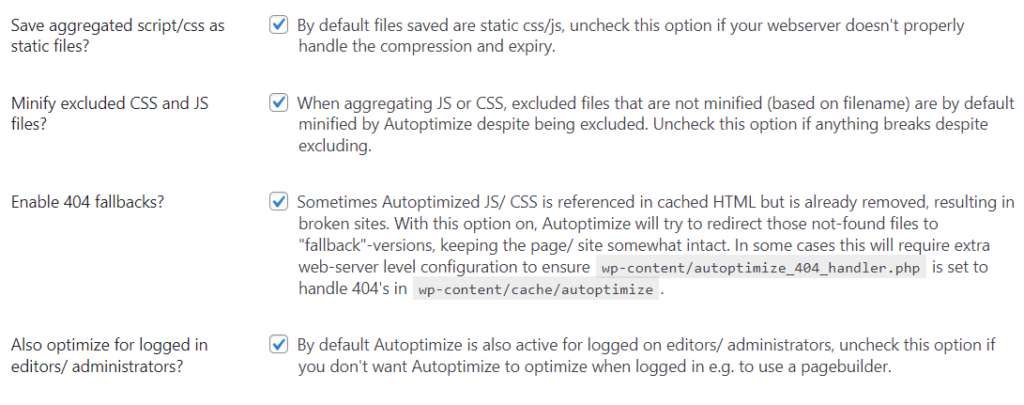
- Move into the “Misc options” section.
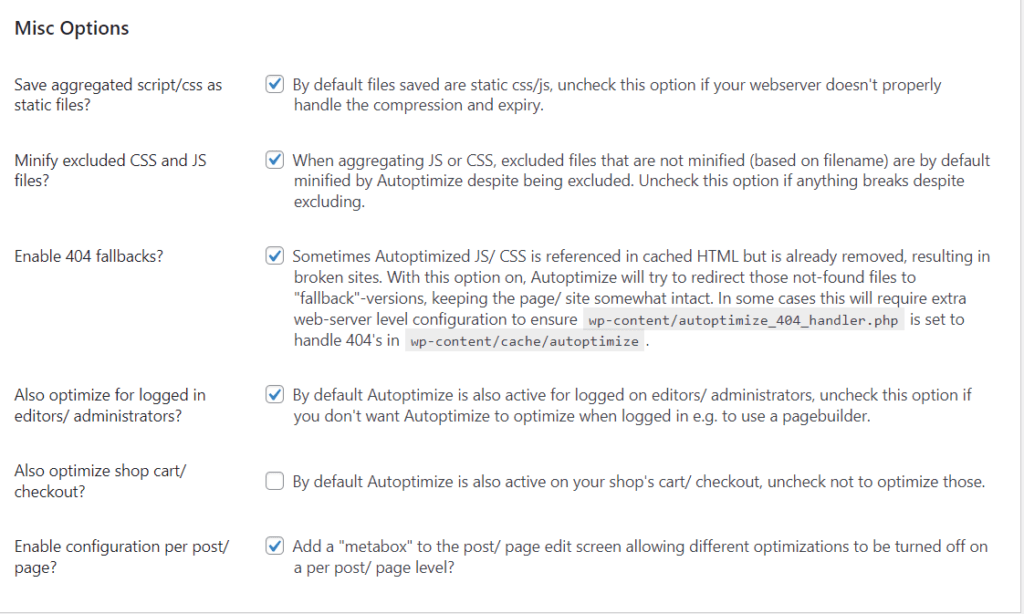
- Make sure the first 4 options are enable. i.e.
1. Save aggregated Script/CSS as static file? The aggregated files can be saved locally as static files if this option is enabled. File compression and expiration might have to be disabled if your server is not set up to handle them.
2. Minify excluded CSS and JavaScript files? This option should be enabled to ensure that all CSS and JS files are minified. You can, however, disable this option if you discover any minification-related issues with some of your omitted CSS and JS files.
3. Enable 404 fallbacks? ‘Missing’ files will be redirected to assist prevent or at least mitigate site breakdown. It’s possible that server configuration is required (get help from your host if need be).
4. Also optimize for logged in editors/administrators? This should be enabled to guarantee that materials are optimized for logged-in editors and administrators. When testing Autoptimize settings as a logged-in user, this is critical.
- If you are using an E-commerce site, only then enable the last option of “Also optimize shop cart/checkout?” (If you have a shop cart in your site that is). But I recommend checking your checkout process to ensure it is working once you enable this option

Click on “Save Changes and empty cache”

Autoptimize Image Optimization:
WordPress Autoptimize Plugin can also speed up the loading of images. ShortPixel is integrated with Autoptimize to optimize images. You can also generate and serve WEBP versions of your images through Autoptimize’s integration in addition to setting the image quality.
- Move into the “Images menu from the top”: If you are using another image optimization plugin, make sure to disable it or you should not enable image optimizations from Autoptimize

- Enable “Optimize Images”: Your website’s URLs will be updated to point to ShortPixel’s CDN. This should have no effect on how they look as long as the compression is lossless, but it will make them load faster.

- Select “Image Optimization quality”. Find your own unique compression/quality balance. ShortPixel’s compression levels differ in the following ways.
1. Lossy: maximum compression, maximum quality loss
2. Glossy: medium level compression, just a little quality loss.
3. Lossless: low compression, minimum quality loss

- Load WebP in supported browsers: If you use WebP images and lazy load images, this option should be enabled.

- Autoptimize includes lazy-loading functionality for images which improves page speed for image-heavy pages. Enable “Lazy Load Image”. Using Autoptimize, you can prevent some image classes and filenames from being lazy-loaded.

- Click on save changes.

Autoptimize extra Optimizations:
These settings will help to optimize your website even more so, lets check out these settings.
- Click on “Extra” from the top

- Google Fonts can be optimized in a variety of ways with Autoptimize. Your best solution will be determined by how you use Google Fonts on your website.
1. Leave as is
2. Remove Google Fonts
3. Combine and link in head (fonts load fast but are render blocking), includesdisplay:swap
4. Combine and link deferred in head (fonts load late, but are not render-blocking), includesdisplay:swap
5. Combine and load fonts asynchronously with web fonts - Select “Combine and link in head” from Google Fonts.
If Google Fonts isn’t a crucial requirement on your site, removing them can have a massive effect on you page speed.

- Enable “Remove Emojis”. The CSS and JavaScript associated to WordPress core emojis are removed with this Autoptimize option. This can decrease the page size. Emojis are so bad for load timming. Emoji font stacks are included in most contemporary operating systems.

- Enable “Remove Query Strings”. The removal of query strings will have no effect on load time, but it may enhance your site’s rating in GTmetrix, Google Pagespeed, and other efficiency analysis tools. In GTmetrix/Page Speed Insights, query strings are normally created by plugins and cannot be changed. You can try it out by just activating it.

- Click on “Save Changes”. Optimization is done.

Conclusion:
If you know how to change its settings, the WordPress Autoptimize plugin is a good choice for WordPress users who want to boost site performance.
From basic capabilities like HTML and CSS optimization to more advanced ones like the ability to specify pre-connect and preload directives, the WordPress Autoptimize plugin has everything you need to improve the frontend speed of your WordPress site.