How to Deploy CloudPages on DigitalOcean
CloudPages can now be deployed on DigitalOcean in just a few clicks using the CloudPages provider integration.
Step 1:
Login to your CloudPages account on platfrom.cloudpage.cloud and then on your dashboard you can see all of your projects. Click on the name of your project under which you want to deploy CloudPages.

Step 2:
In the Project dashboard, click on the DigitalOcean box.

Step 3:
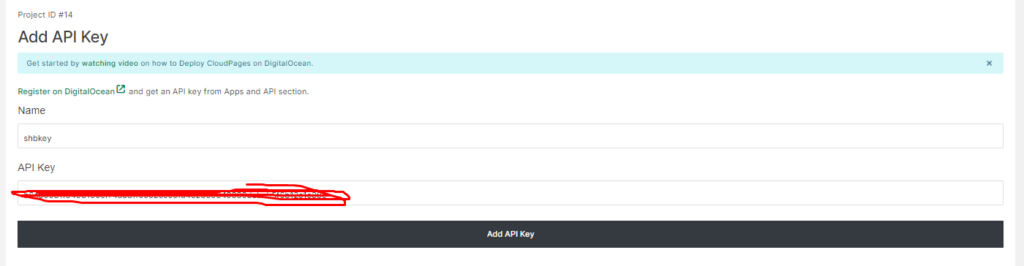
In your first attempt when you click on the DigitalOcean box it will take you to the Add key page.
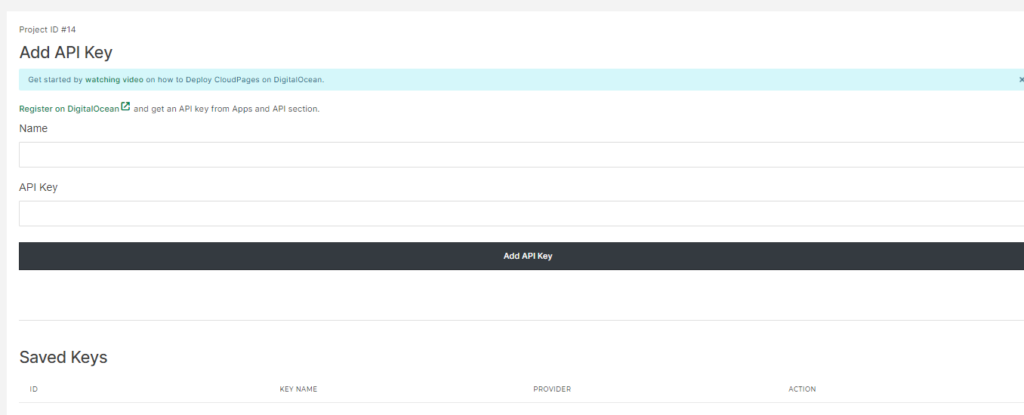
If you don’t have a DigitalOcean account then you need register on DigitalOcean and get an API key from the Apps and API section.
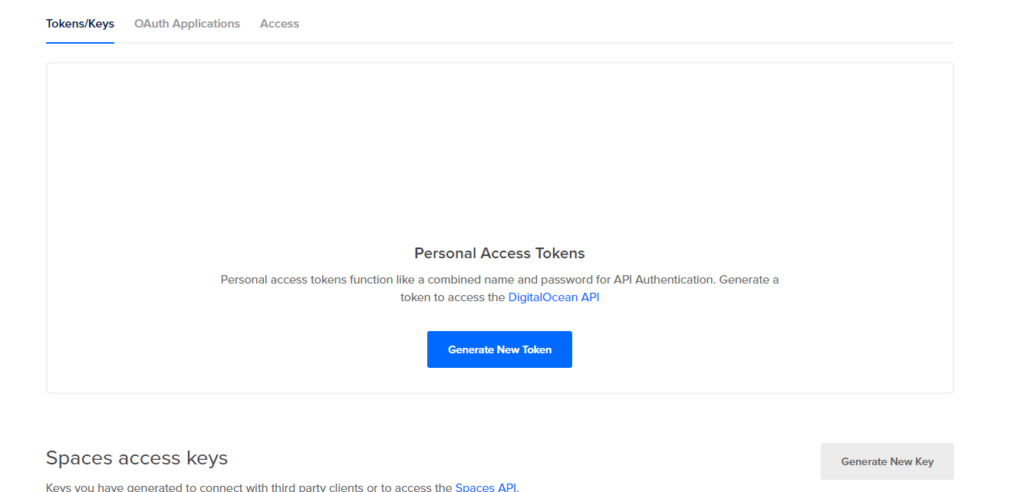
As soon as you have created your account, log in to the DigitalOcean account and scroll down until you see an API button. Click on that.

On this screen, you will see a button that says Create New Token, click on that.
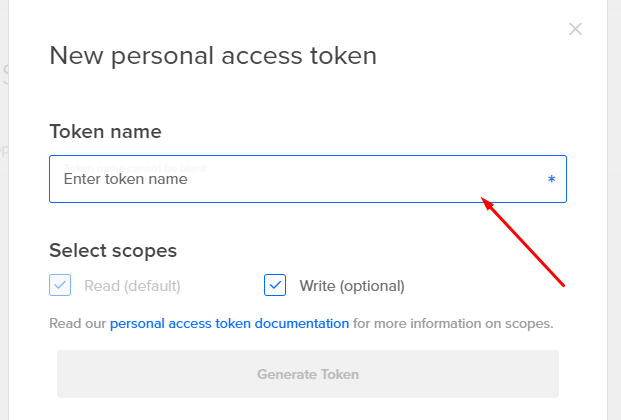
You will see a popup after clicking the button to create a new key. Enter any name for your key.
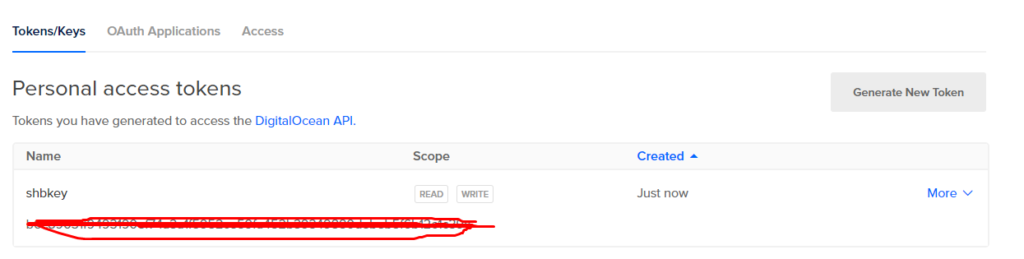
After providing the name you can see that the key is successfully generated now copy this key and move toward the CloudPages side.
On CloudPages, create a key with any name you like and paste the key from DigitalOcean into the input box for the API Key.
After providing information just click on the Add Key button and your key is saved in your account.
NOTE: You can add as many keys as you want and even you can add keys from different DigitalOcean accounts.
Now go back to your project dashboard again.
Step 5:
Once on the project dashboard, click on the DigitalOcean box and it will ask you to select the key of your DigitalOcean account on which you want to deploy CloudPages.
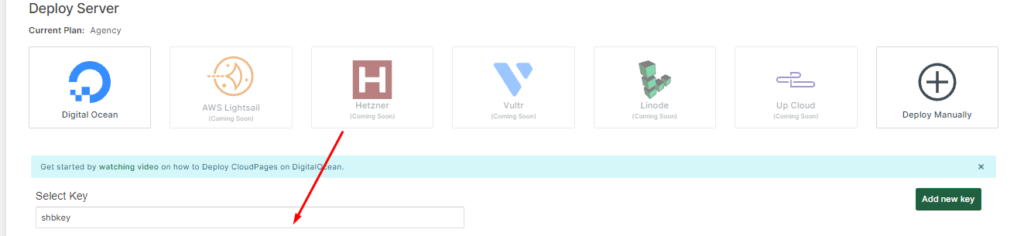
Note: if you want to add more keys there is an Add Key button on this screen.
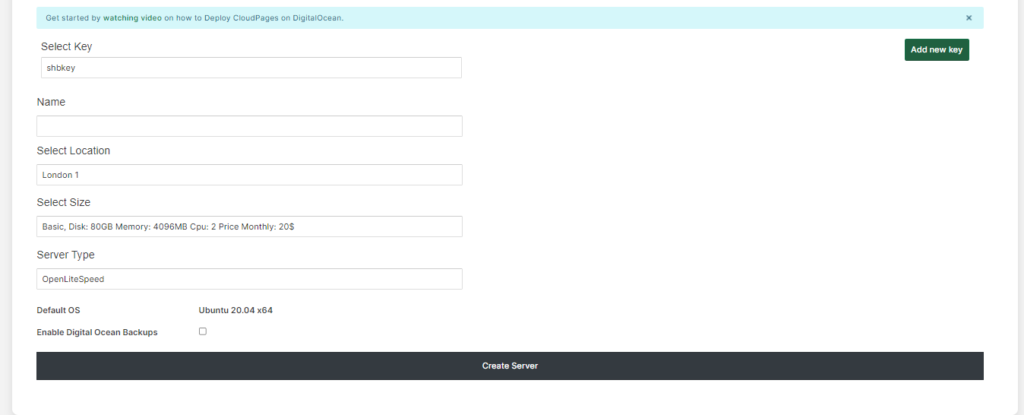
Now after selecting the key provide the server name and select the Location.

Name: Anything you want
Location: All available locations are there select the one you want for your server.
After selecting the location the next row will appear which is the Droplet size. Here in this field all details like RAM size, CPUs, Disk information and price is mentioned select the one which you want according to your need.
After that provide all other information.
Server Type: OpenLiteSpeed/ LiteSpeed Ent (if you have license you can go with LiteSpeed Enterprise otherwise OpenLiteSpeed)
Back up: Check it if you want to go with DigitalOcean backups (Must have some extra charges from DigitalOcean side)
All information added and setup is good to go. Just click Create Server button.
Now you don’t have to do anything else manually. CloudPages with take care of all setup and it will create droplets on the DigitalOcean and also deploy CloudPages server-side agent on it.
Once CloudPages is installed, you can deploy the WordPress site and follow all the other instructions in our Knowledge Base.