Add Team Member
You can add any team member and give any permission to your project on CloudPages.
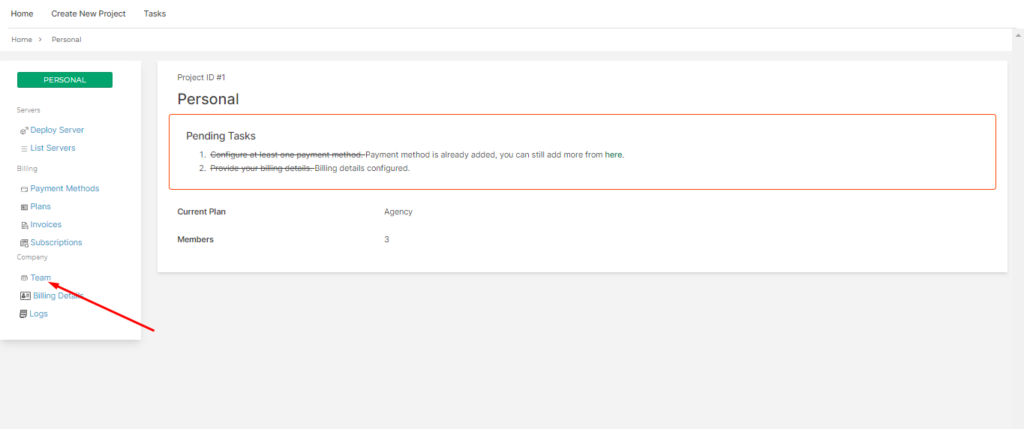
To add team members to your project go to your project dashboard, then click on the Team button in the sidebar.
1. Provide Email
You will land on following window after clicking Team.
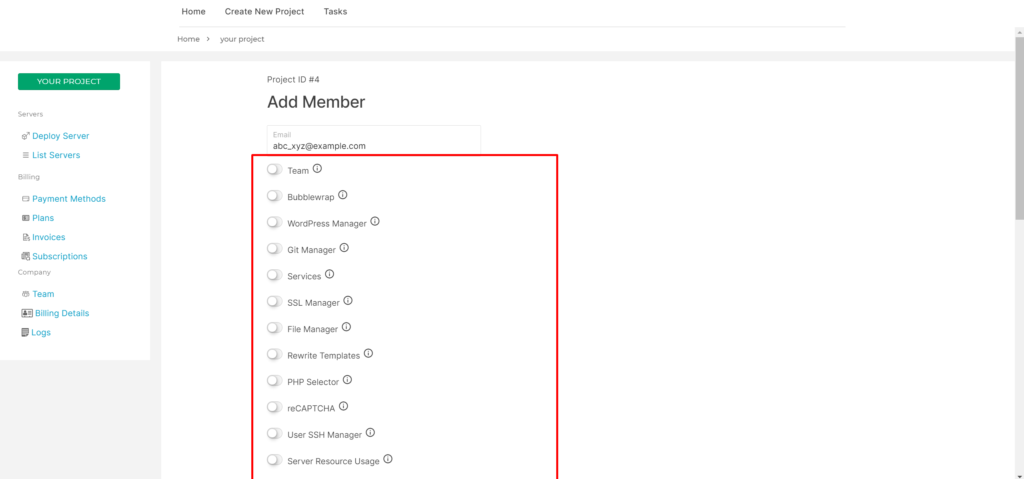
First, at the top, you can see the Email box, type the email of that member that you want to add to your team.

The user you want to add as a member of your team must be registered on Cloud Pages. They can register using their email by clicking here.
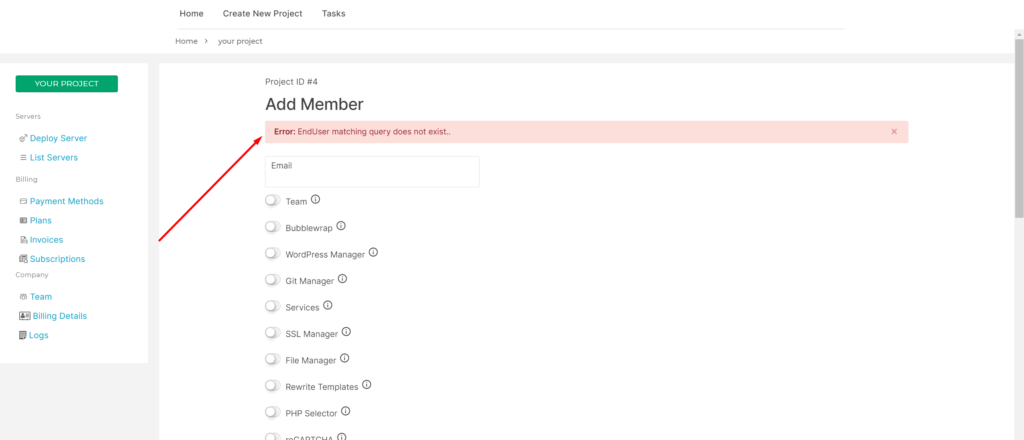
Note: If the user is not registered in CloudPages the error message is displayed on your screen
2. Allow Permissions
After typing the Email address, the next step is to set Permissions for your user. Mean which access you want to give the user.
The following permissions that you can allow for your team member.
Team: Your clients can access Team Management. Share projects with a team based on permissions given
Bubblewrap: Bubblewrap is a lightweight sandbox application written by Flatpak.
WordPress Manager: Allow access to WordPress Manager.
Git Manager: Allow access to Git Manager.
Services: Manage services at the server level (LiteSpeed, MySQL, etc)
SSL Manager: Issue free of Cost SSLs or deploy a Custom SSL with one click.
File Manager: Web-based File Manager to Add, Delete, Rename with the full-fledged code editor.
Rewrite Templates: One-click Rewrite Templates for for HTTP -> HTTPS redirection etc.
PHP Selector: Allow to select multiple PHP versions for a Web Application.
reCAPTCHA: reCAPTCHA for a Web Application to protect against DDOS attacks.
User SSH Manager: Manage SSH/SFTP password and SSH keys for website users.
Server Resource Usage: Users will be able to see server resource usage that includes CPU, Ram, and Disk. (From 30 minutes up to 7 days data)
Payment Methode: Add/Delete or manage Payment Methods on this project.
Billing Details: Configure/Update Billing Details on this project.
Logs: Access to project logs, please note that project logs contain various important things happening within your project.
Plans: View and select plans for this project.
Deploy Servers: Allow members to create servers in this project.
List Server: Allow members to list servers in the project.
Delete Servers: Allow members to delete servers on this project.
Create Websites: Members can create websites on servers within this project. (They will be able to create websites on all servers in this project.
List Website: Allow members to list websites for all servers in this project.
Create Database: Allow members to create databases for all servers in this project.
List Database: Allow members to list/manage databases for all servers in this project.
Server Settings: Allow members to access/update/change Server Settings for all servers in this project.
List WordPress sites: Allow members to list/manage WordPress sites on all servers within this project.
Website Settings: Allow members to access Website Settings for all servers in this project.
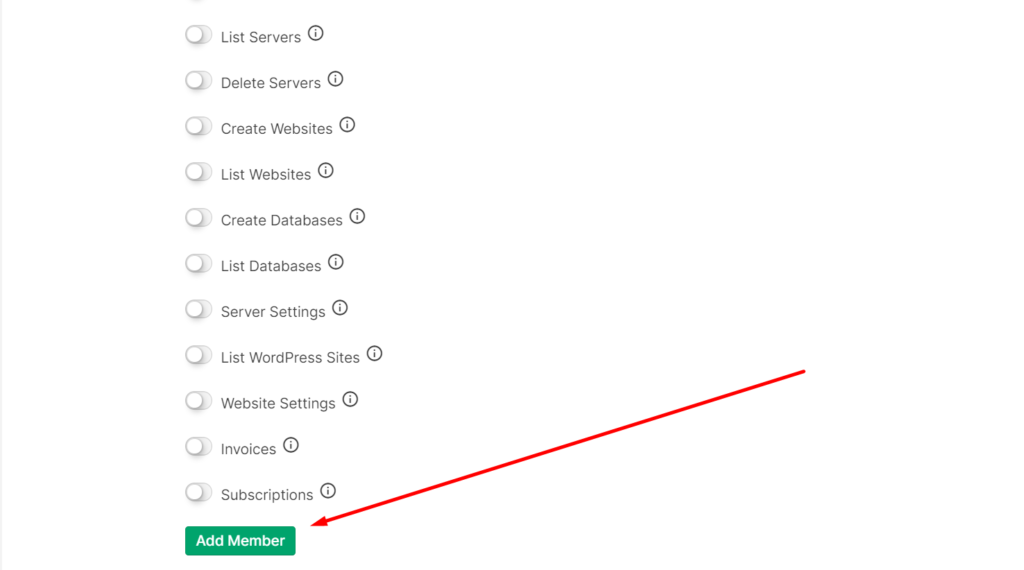
Invoice: Allow members to view, pay and manage invoices on this project.
Subscriptions: Allow members to view and manage Subscriptions on this project.
You can allow multiple permission to your member by switching the permission button.
Once you set the permissions to your team member then click on Add Member button
You can see the message.
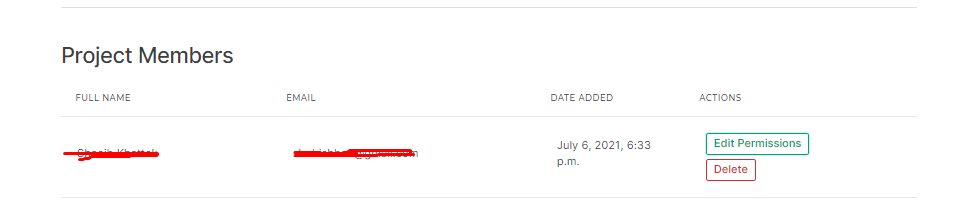
Success: Member successfully given permission to this company.
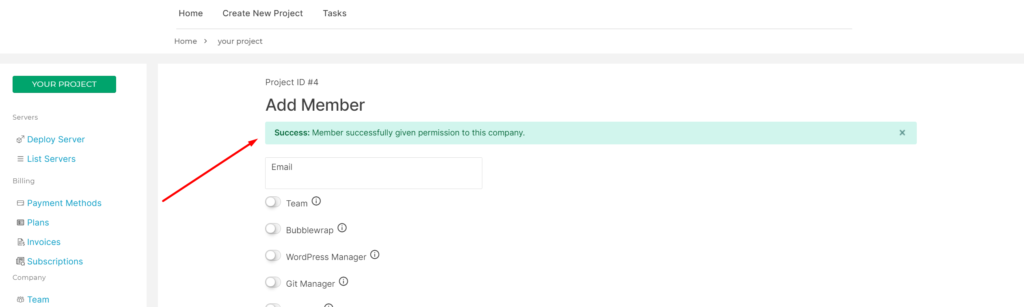
And you can also see that member in the team member list below.