

As websites continue to evolve, the need for speed and optimal performance becomes increasingly crucial. WordPress users often turn to powerful tools to enhance their websites, and among them is the W3 Total Cache Pro plugin. This article aims to provide an exhaustive and detailed exploration of the W3 Total Cache Pro plugin, delving into its advanced features, benefits, installation process, and configuration options.
Table of Contents
What Sets W3 Total Cache Pro Apart?
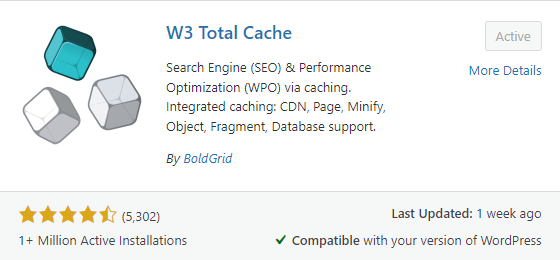
W3 Total Cache Pro is the premium version of the well-known W3 Total Cache plugin, offering advanced features and premium support. Developed by Frederick Townes, this pro version builds upon the foundation of the free version, providing even more tools for optimizing website performance.
Advanced Features
- Fragment Caching
Unlike the free version, W3 Total Cache Pro introduces fragment caching, enabling selective caching of specific portions of a page. This feature is especially useful for dynamic websites with personalized content. - Extension Framewo
The plugin comes equipped with an extension framework that allows users to add custom functionalities seamlessly. This extensibility is a boon for developers seeking to tailor the caching process to their specific needs. - WordPress Multisite Compatibility
W3 Total Cache Pro is designed to work seamlessly with WordPress Multisite installations, making it an excellent choice for users managing multiple sites from a single WordPress installation. - Import/Export Functionality
The Pro version simplifies the migration process by providing import/export functionality for settings. This is invaluable when moving configurations between staging and production environments. - Advanced Minification
Building on the basic minification features of the free version, W3 Total Cache Pro offers advanced options for precise control over the minification process. This includes the ability to exclude specific files or directories. - Priority Email Suppo
Subscribers to W3 Total Cache Pro benefit from priority email support, ensuring faster responses to queries and technical issues.
Installation
Installing W3 Total Cache Pro follows a similar process to the free version:
- Purchase and Download
Acquire the W3 Total Cache Pro plugin from the official website or authorized distributors. - Upload and Activate
Navigate to the WordPress dashboard, select ‘Plugins,’ click ‘Add New,’ and then ‘Upload Plugin.’ Upload the plugin zip file and activate it. - License Activation
After activation, enter the license key provided upon purchase to unlock the Pro features.
Configuration
Configuring W3 Total Cache Pro involves a more nuanced approach compared to the free version. Here’s an in-depth look at some key configuration settings:
In this segment, we will delve into the intricacies of configuring the W3 Total Cache plugin to achieve optimal performance for your WordPress website. Gain comprehensive insights into the steps required to fine-tune settings and harness the full potential of W3 Total Cache to enhance the speed and overall efficiency of your site.
First, install the W3 Total Cache plugin and activate it.
General Settings
Upon activating the W3 Total Cache plugin, proceed to the “Performance” tab, specifically the “General Settings” section, and continue with the configuration process.
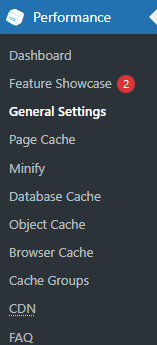
Below are the sections of the W3 Total Cache Genera Setting Page.
General
It is advisable to leave the preview mode disabled (as it is disabled by default, avoid enabling it).

Page Cache
Keep page cache enabled and select Disk: Enhanced option for Page Cache Method.
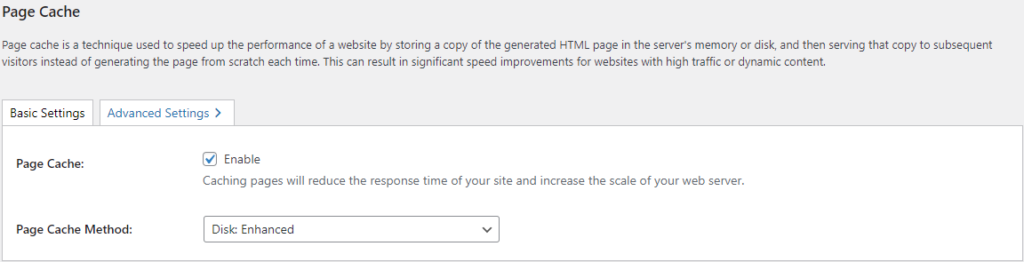
The Page Cache method offers both basic and enhanced options for shared hosting. The enhanced method exhibits superior performance compared to the basic mode, utilizing the .htaccess file for optimization, which the basic mode does not employ. If encountering errors with the disk-enhanced caching method, consider switching to the basic mode.
Minify
Select the options as shown in the below image.
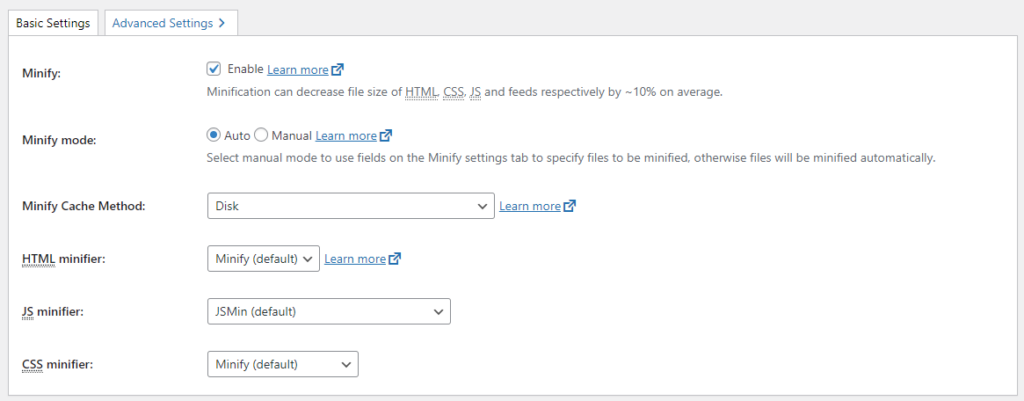
If you are utilizing a virtual host or dedicated host, it is recommended to explore alternative options within the Minify Cache method settings. The configurations mentioned are specifically tailored for WordPress blogs hosted on shared hosting environments.
Opcode Cache
Keep it unchanged.

Database Cache
Check the options as shown in the below image.

Once more, consider selecting different alternatives if your website is hosted on a virtual or dedicated server.
Object Cache
Select the options as shown in the below picture.

If your website is hosted on a platform other than shared hosting, you will employ different options.
Browser Cache
Check the enable option.

CDN
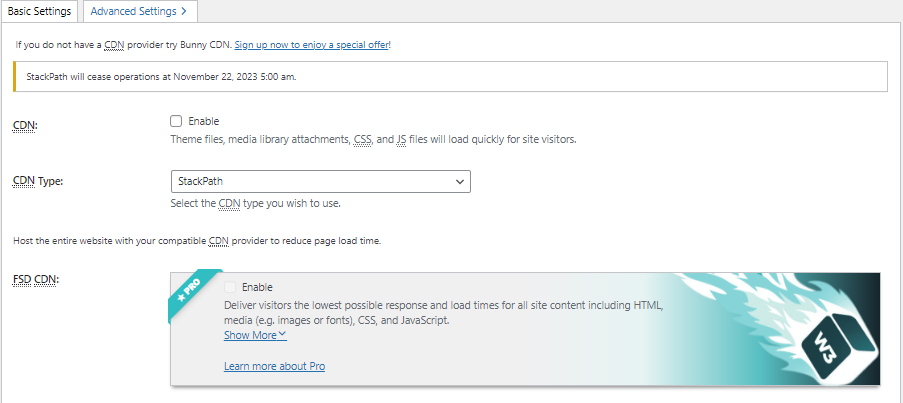
Enable the CDN feature only if you’ve opted to invest in a CDN service. A typical blog may not require the use of a CDN. However, it is advisable to consider implementing one if your website attracts millions of monthly visitors from various traffic sources.
Reverse Proxy
Skip this step.
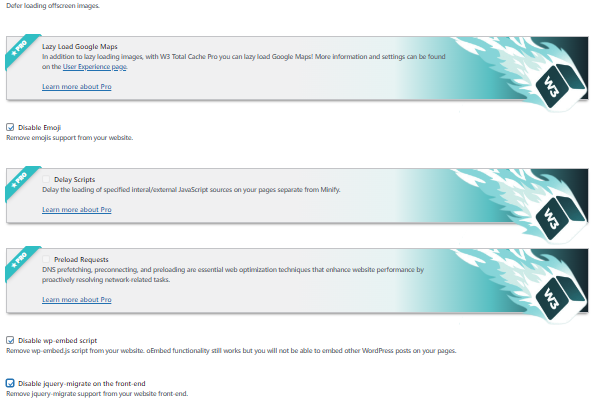
User Experience
Check the options as shown in the below image.
Miscellaneous
Skip this step.
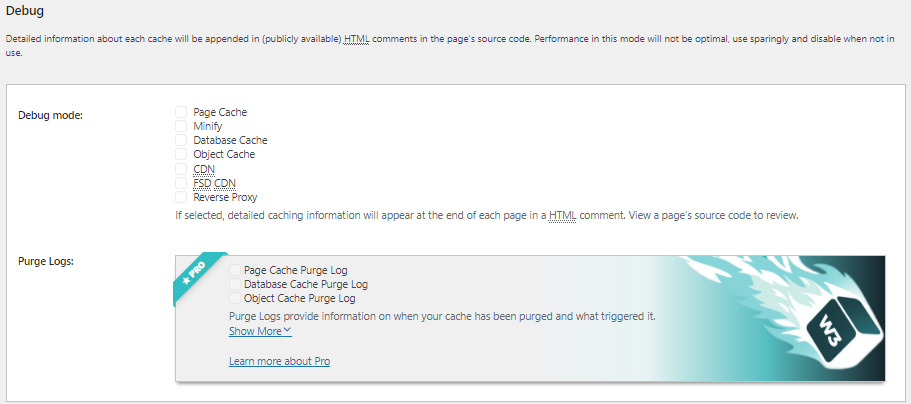
Debug
Disable all the options as shown in the below image.
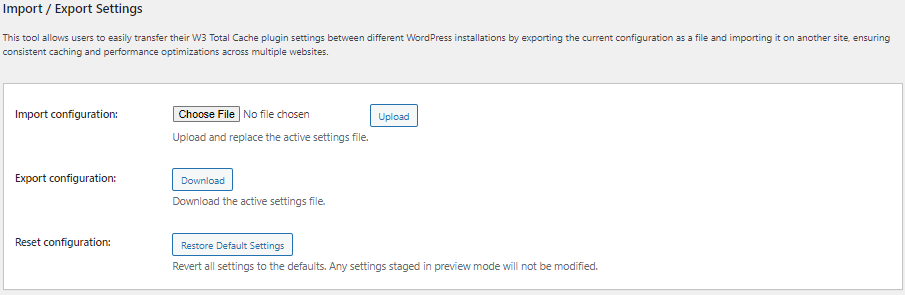
Import/Export Settings
If you plan to install this plugin across multiple WordPress websites that you manage, this feature will prove to be exceptionally useful. After configuring the W3TC plugin for one website, you can conveniently replicate those settings on other WordPress blogs by downloading the W3 Total Cache plugin settings from this section. Simply import this plugin configuration into other blogs where you intend to install this plugin.
Page Cache Page
Head to Performance > Page Cache and proceed accordingly.
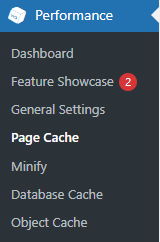
Ensure the following configurations are set at the page cache level:
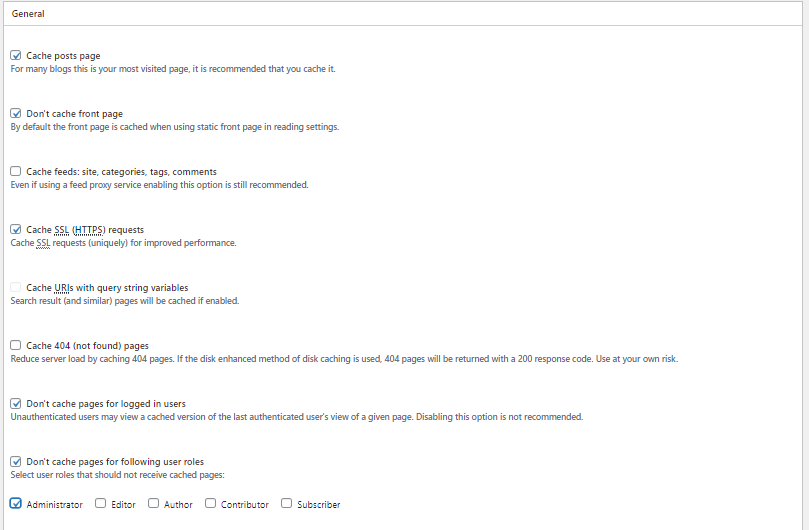
General
Check the options as given in the below image.
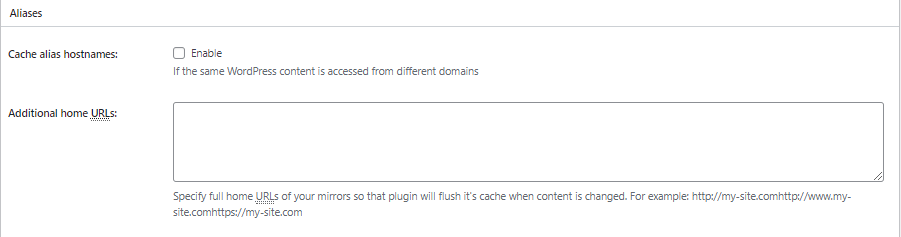
Aliases
Activate the alias option exclusively if you are utilizing different domains to serve the content.
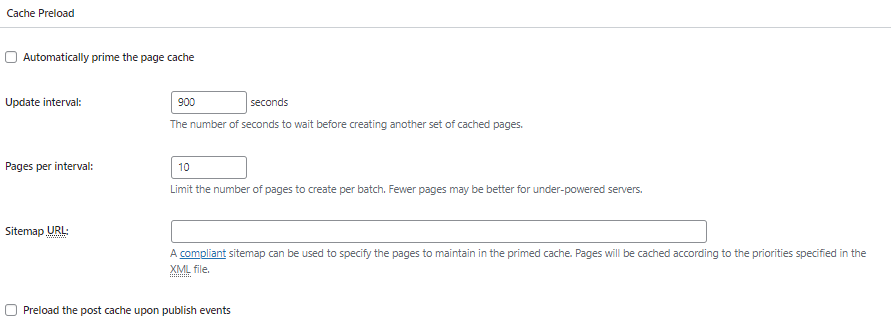
Cache Preload
Input your XML sitemap URL for your domain within the Sitemap URL section. Maintain the Purge Policy as the default setting.
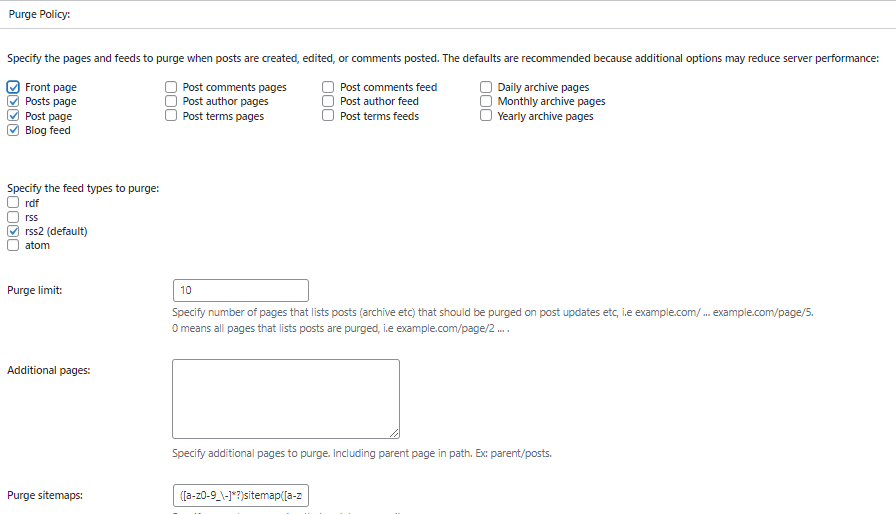
Purge Policy
Check the below boxes.
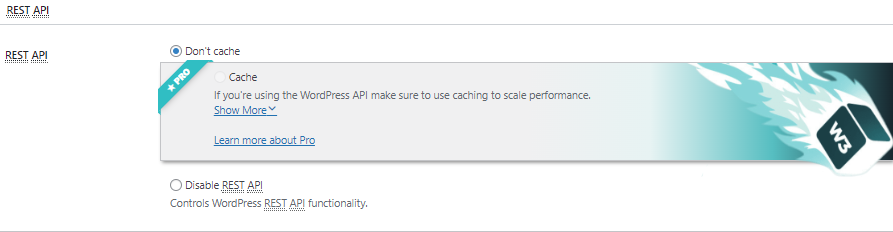
Rest API
Leave it as it is.
Advanced
Leave it as it is.

Minify Page
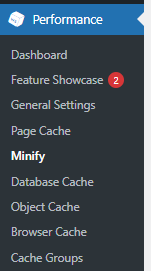
Go to Performance > Minify. Implement the following adjustments at the Minify Cache level:
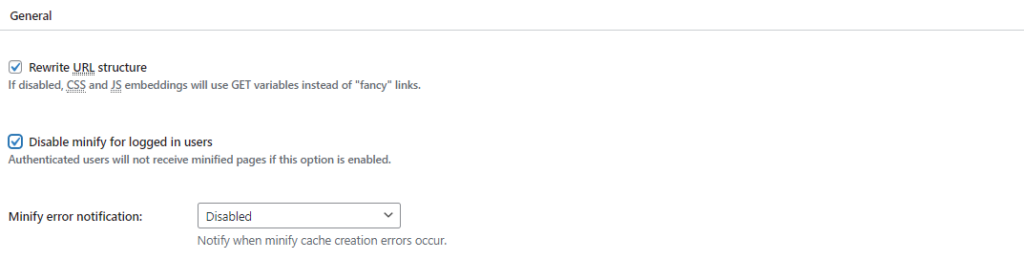
General
Activate URL structure. Deactivate Minify for logged-in users. Disable Minify Error Notification.
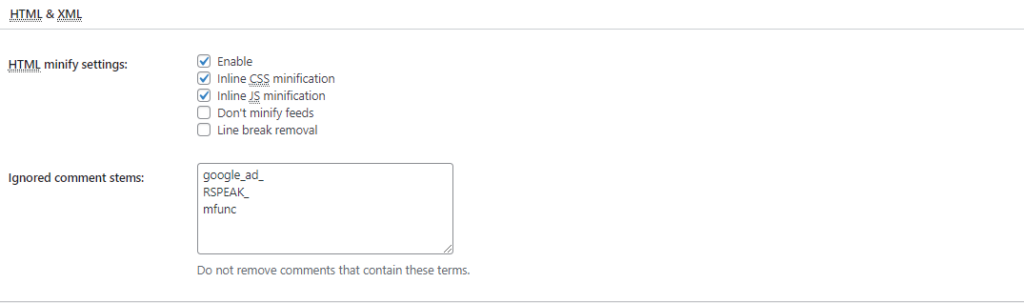
HTML & XML
Check the options that are shown in the image below.
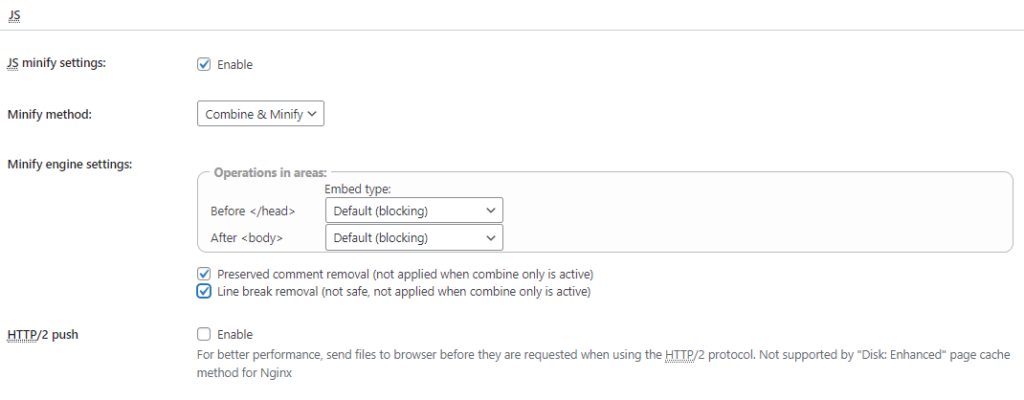
JS
Select the options that are shown in the picture below.
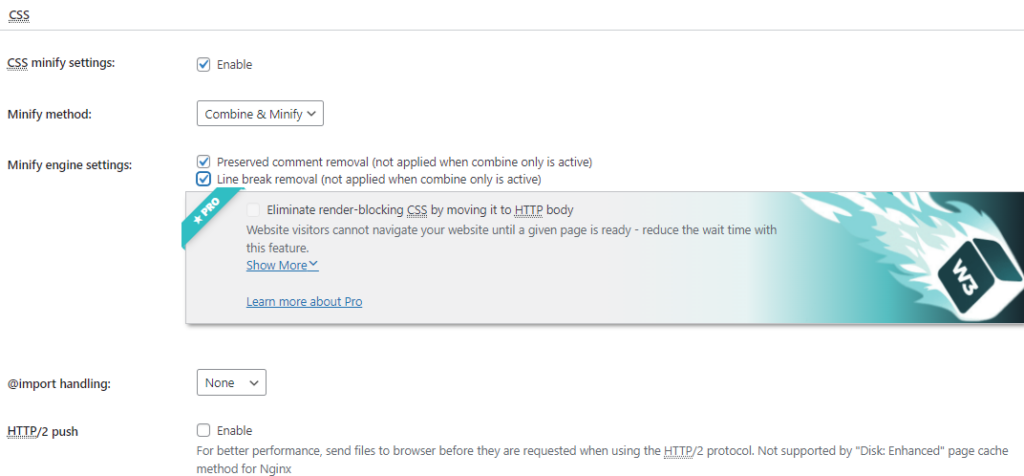
CSS
Select the options shown in the image below.
Advanced
Keep it the way it is.
Database Cache Page
Keep this section as it is.
Object Cache Page
Keep this section as it is.
Browser Cache Page
Keep this section as it is.
That concludes the necessary steps to configure the W3 Total Cache plugin for your WordPress blog.
Benefits
- Granular Contro
W3 Total Cache Pro provides granular control over caching elements, enabling users to optimize specific parts of a page. - Customization for Developers
The extension framework caters to developers, offering the flexibility to create custom functionalities tailored to the site’s unique needs. - Seamless Multisite Management
WordPress Multisite compatibility simplifies the management of multiple sites under a single installation. - Effortless Migration
The import/export functionality facilitates smooth migration of settings between different environments. - Advanced Minification
Users gain advanced control over minification, allowing for precise customization and optimization of scripts and styles. - Priority Support
Subscribers benefit from priority email support, ensuring timely assistance for troubleshooting and queries.
FAQs
How do I install W3 Total Cache on my WordPress site?
Install W3 Total Cache by navigating to your WordPress dashboard, selecting ‘Plugins,’ clicking ‘Add New,’ searching for “W3 Total Cache,” and then activating the plugin. Detailed installation instructions are available in the WordPress plugin repository.
Is W3 Total Cache suitable for all types of hosting?
Yes, W3 Total Cache is versatile and compatible with various hosting environments, including shared hosting, virtual hosting, and dedicated servers. Its settings can be adjusted to suit the specific requirements of different hosting setups.
How do I configure W3 Total Cache for optimal performance?
Configure W3 Total Cache by navigating to the ‘Performance’ section in your WordPress dashboard and adjusting settings under ‘General,’ ‘Browser Cache,’ ‘Database Cache,’ and other relevant sections. Refer to the plugin’s documentation for detailed configuration guidelines.
Are there any common issues with W3 Total Cache, and how can I troubleshoot them?
Common issues may include conflicts with other plugins or themes. If you encounter problems, try deactivating other plugins, switching to a default theme, and clearing the cache. Additionally, check the plugin’s support forums and documentation for troubleshooting guidance.
Is W3 Total Cache suitable for beginners?
While W3 Total Cache provides advanced features, beginners can still benefit from its default settings. However, understanding the plugin’s features and configurations will enable users to maximize its potential for optimal performance.
Conclusion
W3 Total Cache Pro stands as a powerful solution for WordPress users seeking advanced performance optimization capabilities. With its enhanced features, seamless multisite compatibility, and priority support, the Pro version caters to the demands of developers, agencies, and businesses aiming to provide optimal user experiences across their WordPress websites. By following the installation and configuration guidelines outlined in this guide, users can unlock the full potential of W3 Total Cache Pro and achieve unparalleled website performance.